|
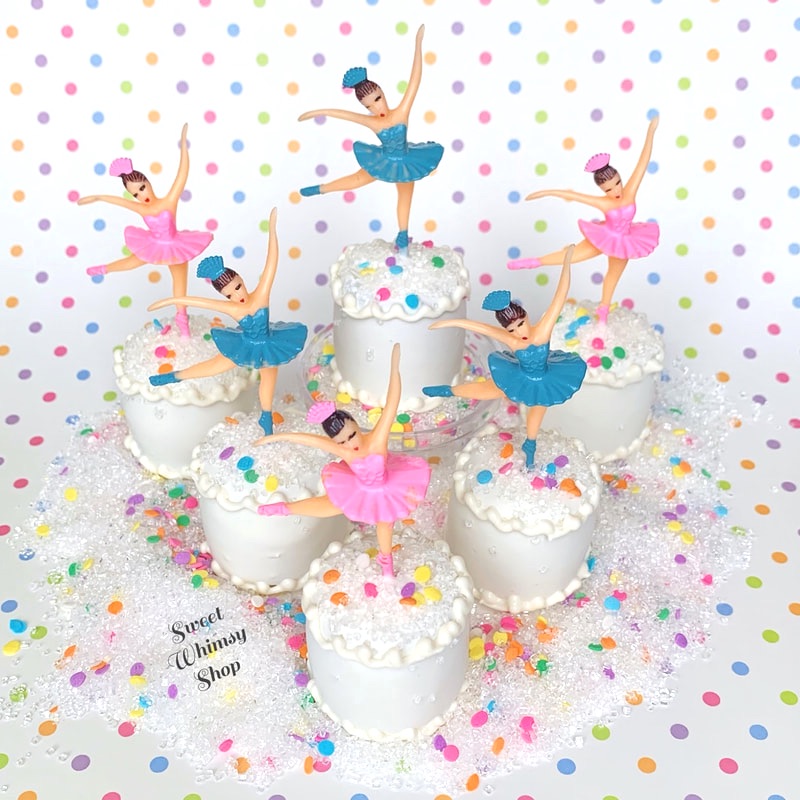
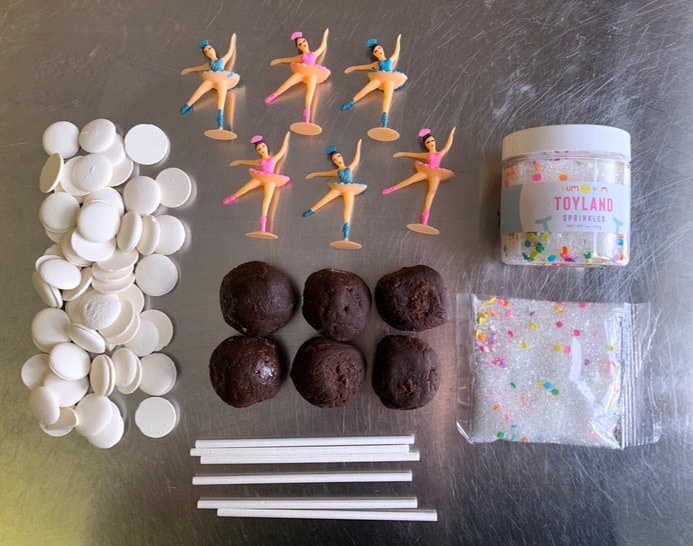
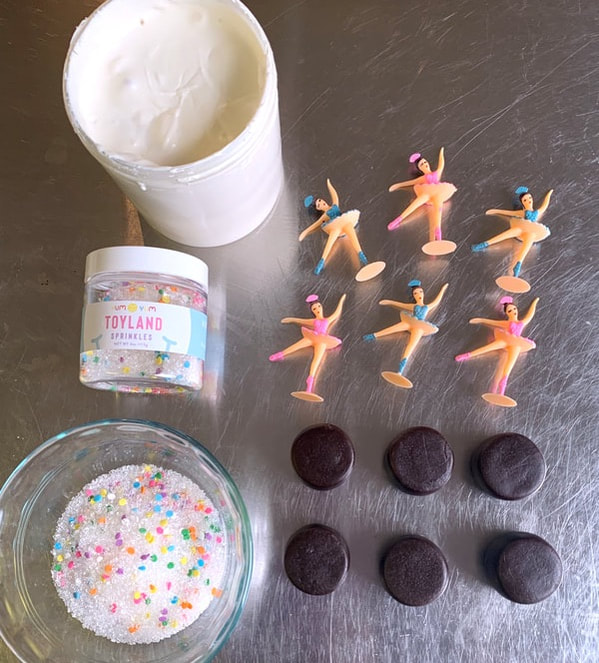
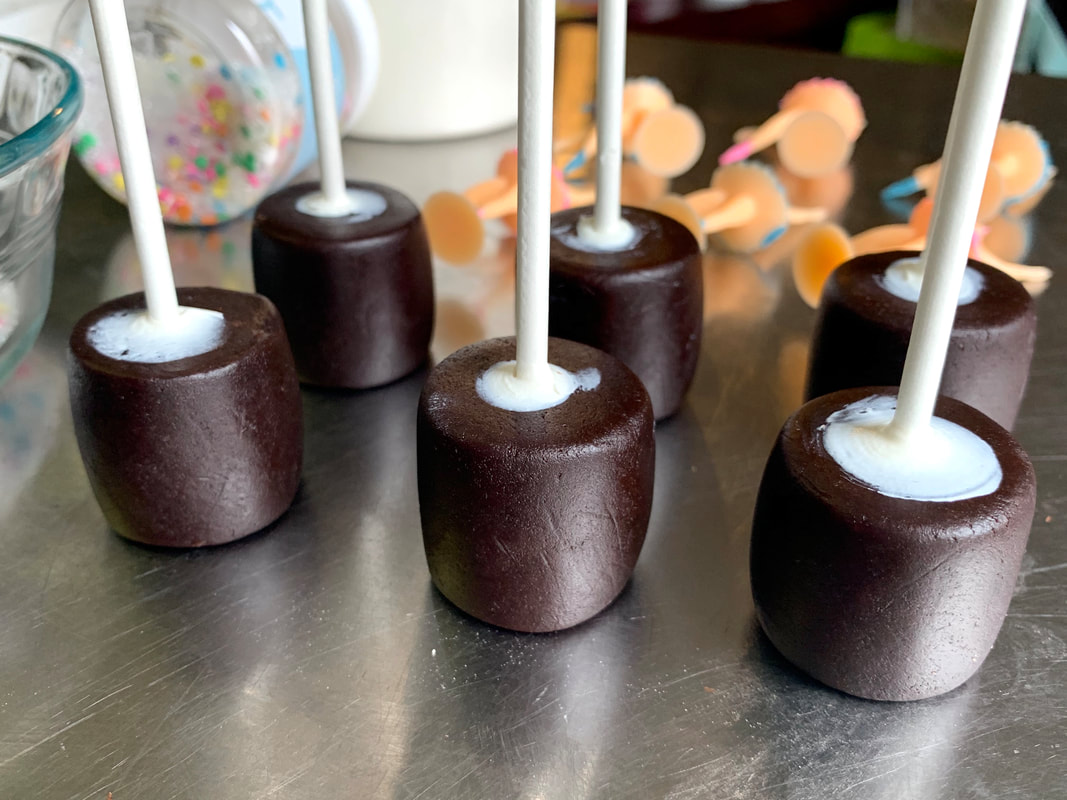
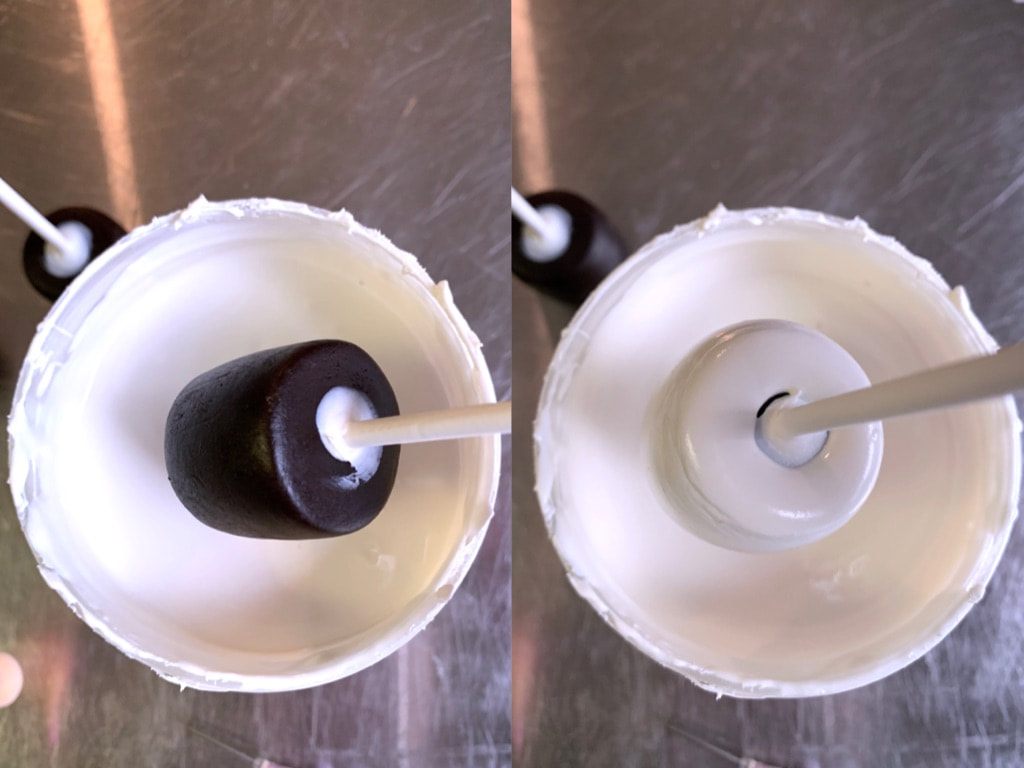
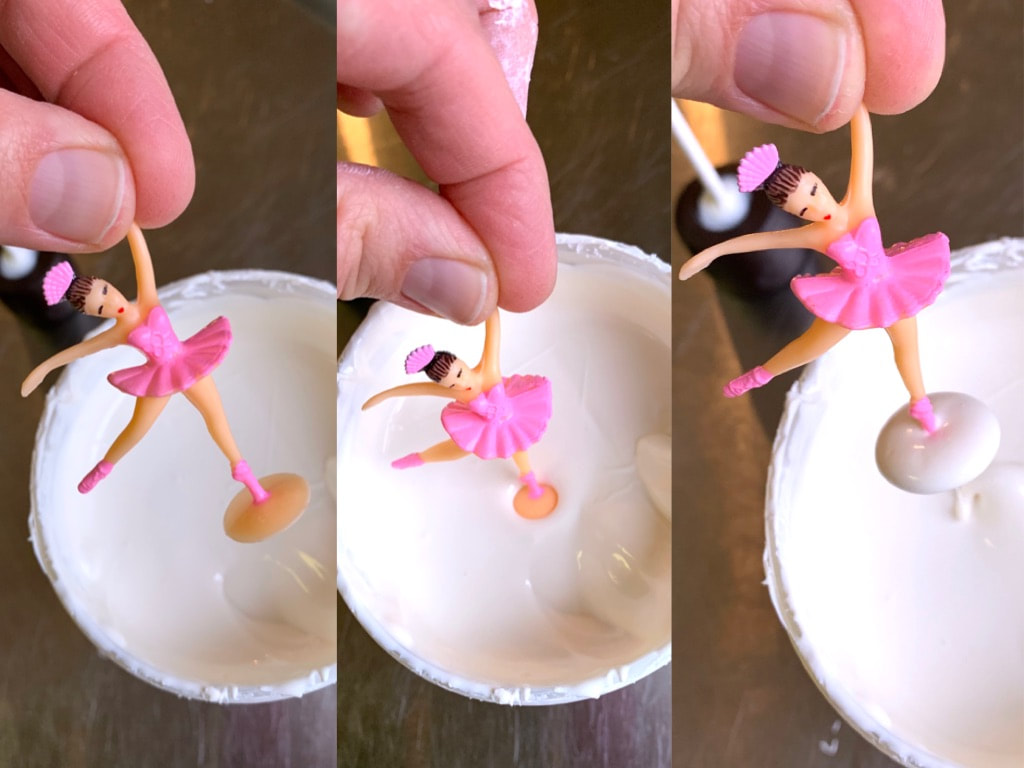
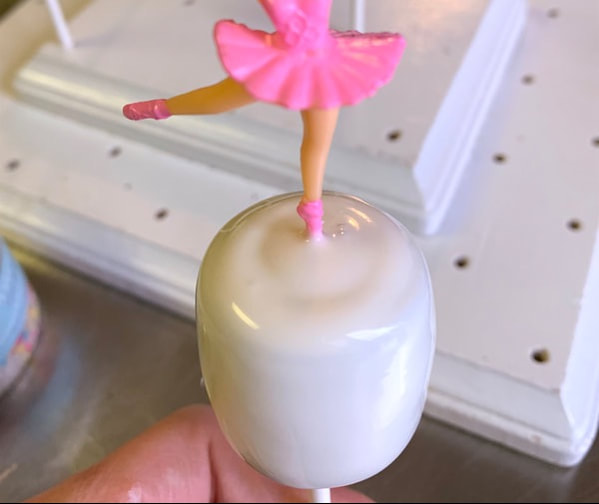
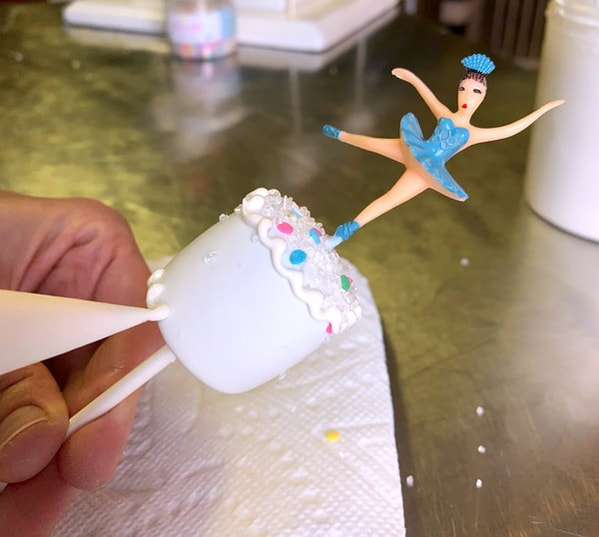
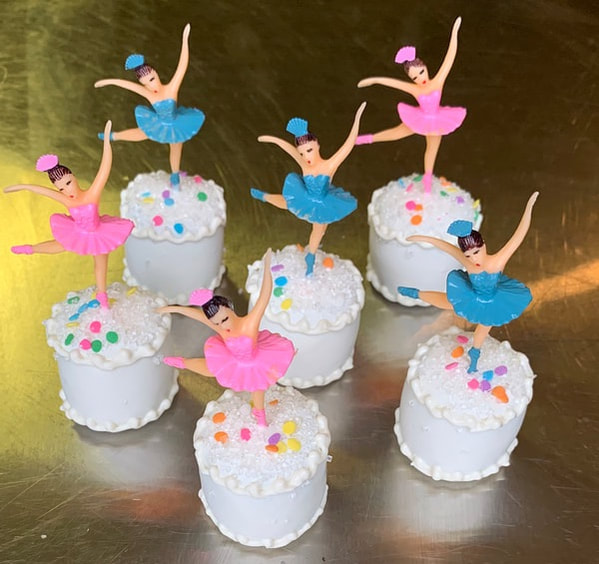
When I first saw these tiny dancer cake toppers, they were featured on Yum Yum Smile Shop’s Instagram feed, on top of a beautiful white cake (click here to see my muse). Everything looked so beautiful; I was bursting with inspiration, but I don't (can't) make cakes. Really, anything larger than about 6" is beyond my expertise...or even mild competence. I immediately dreamt up a design of "tiny cake" cake pops, with a single ballerina topper on each. It took months for me to find the time to realize that vision, but thankfully not nearly as long to problem-solve and actually create these darling desserts. This tutorial is meant for someone who already has some experience making cake pops. If you have never made a cake pop, I highly recommend of Angie “Bakerella” Dudley’s book Cake Pops: Tips, Tricks, and Recipes for More than 40 Irresistable Mini Treats as a learning tool. It’s what I used 8 years ago, when I was first starting out. If you haven't yet made a cake pop (ideally, several batches of them), take some time to practice that skill first. I'm sure you can find a few "taste-testers" willing to help with your trial-and-error process ;) If you use this tutorial to make your own Tiny Dancer Tiny Cakes, please share on social media, and tag @SweetWhimsyShop so I can see your work (and share it!). Here's what you need, and how to make it. Remember, if you don't yet know how to make cake balls or cake pops, practice that skill first! Ingredients and Supplies *Cake Balls, in your choice of flavor(s) *White candy coating, such as Wilton's Bright White *Yum Yum Smile Shop's Music Box Ballerina Cake Topper Kit *Yum Yum Smile Shop's Toyland Sprinkles (optional, read below) *Lollipop sticks *Piping bag for white candy coating *Wax paper Gather all your ingredients and supplies. The Ballerina Cake Topper Kit will come with 12 ballerinas, and a packet of Toyland Sprinkles (as shown). However, the extra jar of sprinkles is nice to have, especially if you want to decorate coordinating treats, or cover a surface for display (like I did for photos). To begin, roll each cake ball into a cylinder. I like to use a chef's knife, but you may prefer a different tool or technique. This is just what I've been doing for...ever! After all cylinders have been formed, prepare for dipping and decorating. Melt the candy melts (I use a microwave to melt them: 30 seconds at a time at 50% power), and fill a small bowl with the Toyland sprinkles. Dip the top of each lollipop stick into the melted candy coating. Then insert it into the cake ball/cylinder, about half-way. Allow to cool and harden. Then, dip the cake cylinder into the melted candy coating. Since you will later remove the sticks from the cake balls/cylinders, try to avoid fully-submerging (and fully-covering) the base of the cylinder. Now...this is the tricky part, because you have to work very quickly, and carefully! Before the white chocolate coating on the cake pop has cooled and fully-set, dip the base of the ballerina into the melted candy coating. I recommend that you set the stick of the cake pop into a cake pop stand, so that you have both hands free ;) With the the base of the ballerina fully-covered in candy melt coating, carefully place it on top of the cake pop. You may need to tap the stick a little to get the coating(s) to settle and blend. Finally (also before everything has hardened/cooled), sprinkle the top of the tiny cake with the Toyland sprinkles. Allow everything to fully set/cool, before proceeding. After coating on the tiny cake has fully-set, using a piping bag to pipe melted candy coating in the shape and style of icing to decorate the cakes (I used white, but you can use any color). Allow the piping to cool and harden before proceeding to the next step. A full video of this step is available here. For the final step, you'll need to carefully remove the stick from the cake pop/cylinder. Then, use the white piping chocolate to fill the hole. Afterwards, set the tiny cake on wax paper. The wax paper will prevent the cake pop from sticking to the surface of the counter, table, etc. After all the tiny cakes have cooled and hardened, remove them from the wax paper. Display with a larger "real" cake, include this set on a ballet- or Nutcracker-themed candy table, or use them as sweet place settings. Whatever you do, please post a photo and tag @SweetWhimsyShop :) I'd love to see your creations! Finally, if you are local to Savannah, Georgia and would like to order these instead of DIY-ing them, please use the How to Order page to submit an inquiry. Many thanks in advance! Becca Aronowitz
1 Comment
|
AboutLooking for more from Sweet Whimsy? Find DIYs, behind-the-scenes, and more right here! Whimsically sporadic posting guaranteed. Archives
May 2019
Categories
All
|
 RSS Feed