|
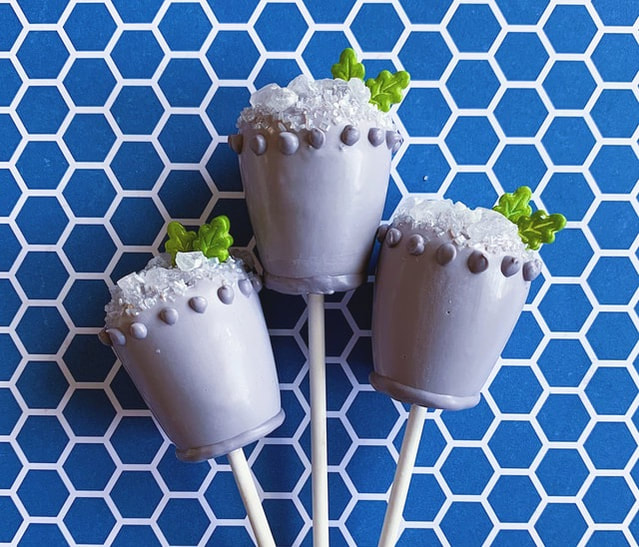
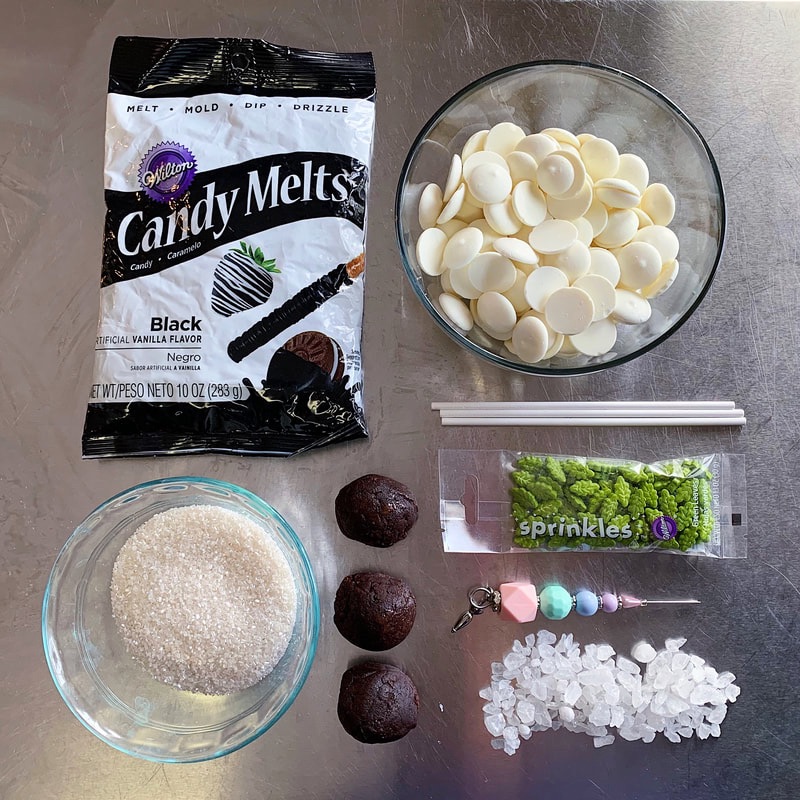
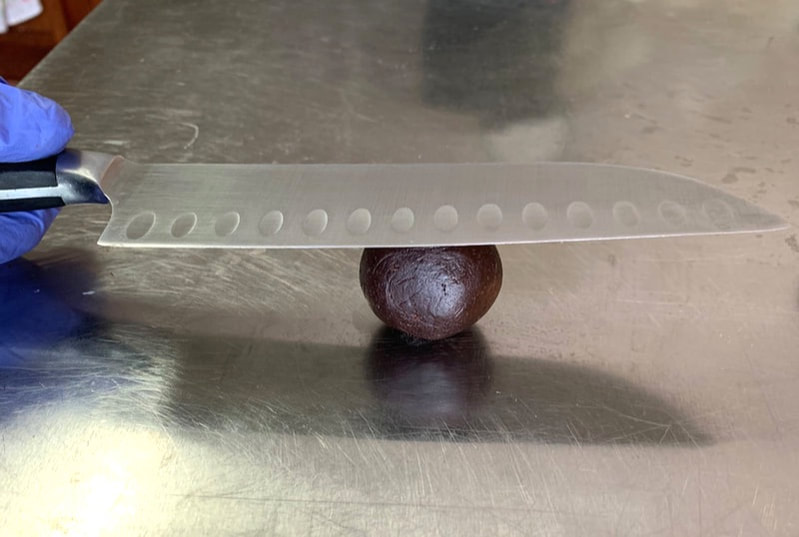
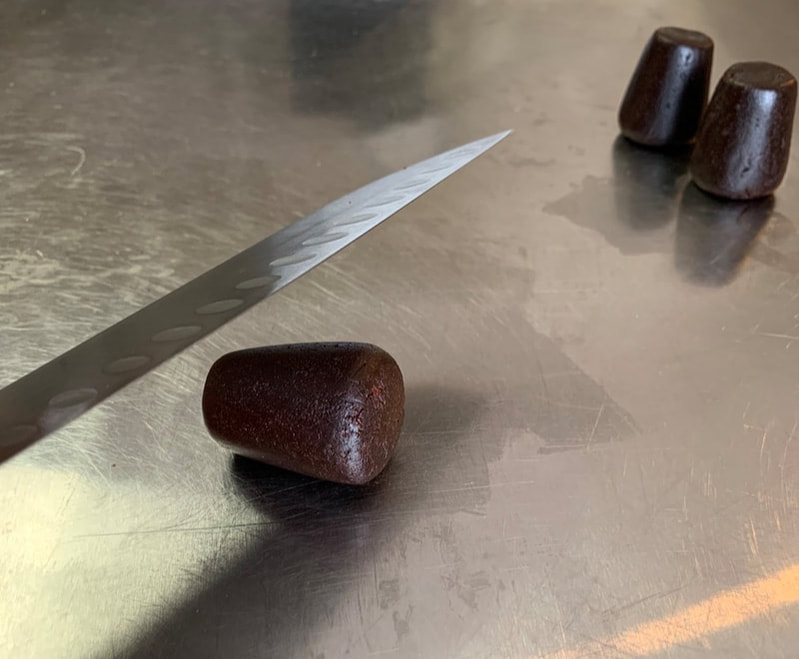
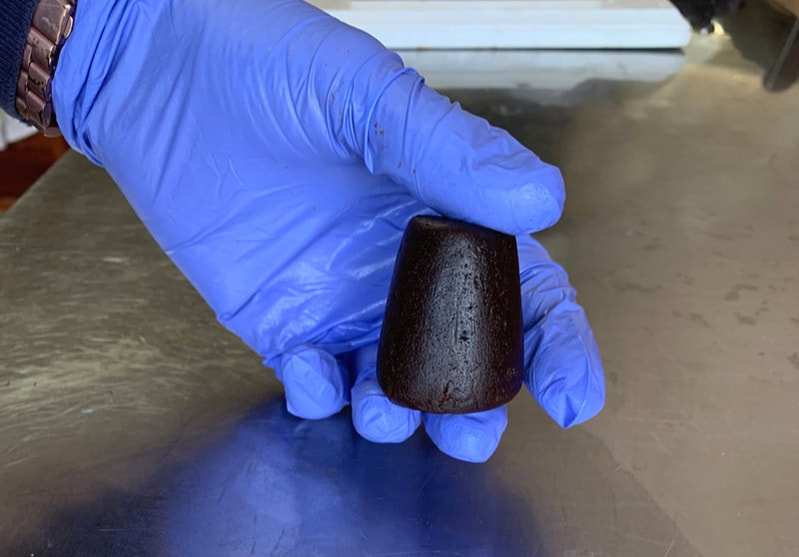
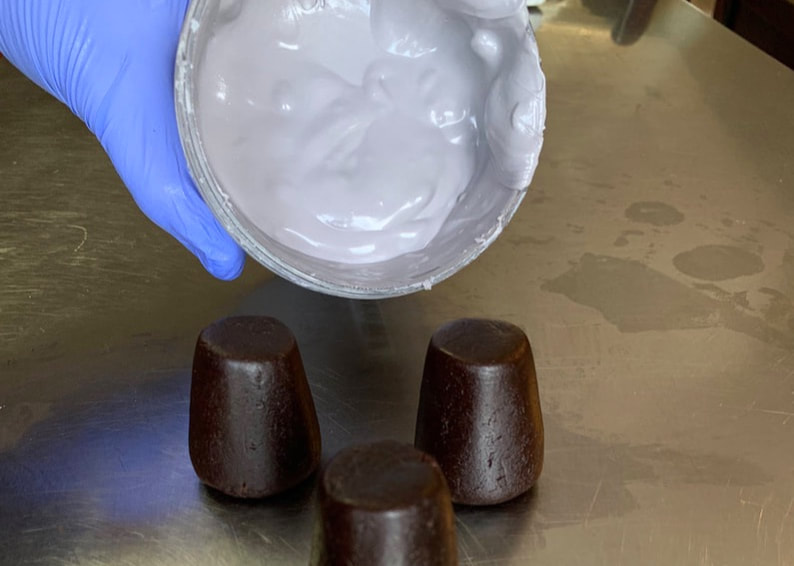
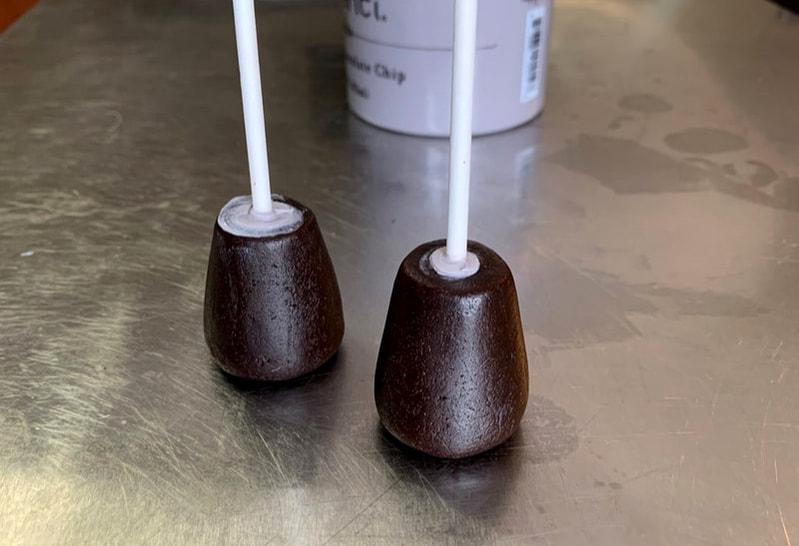
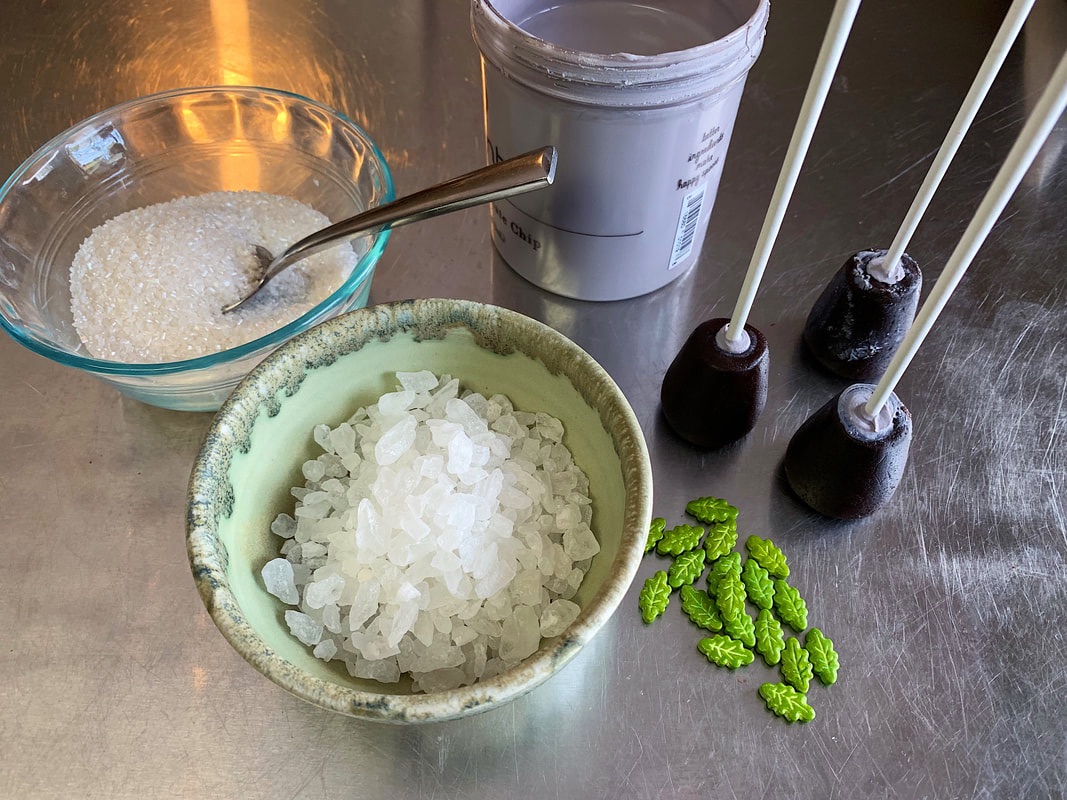
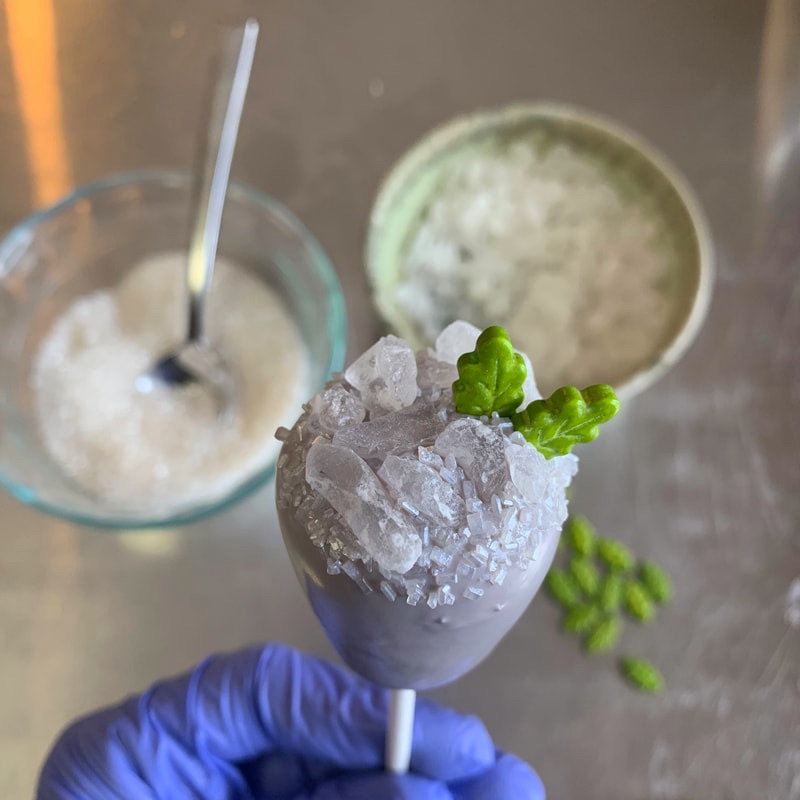
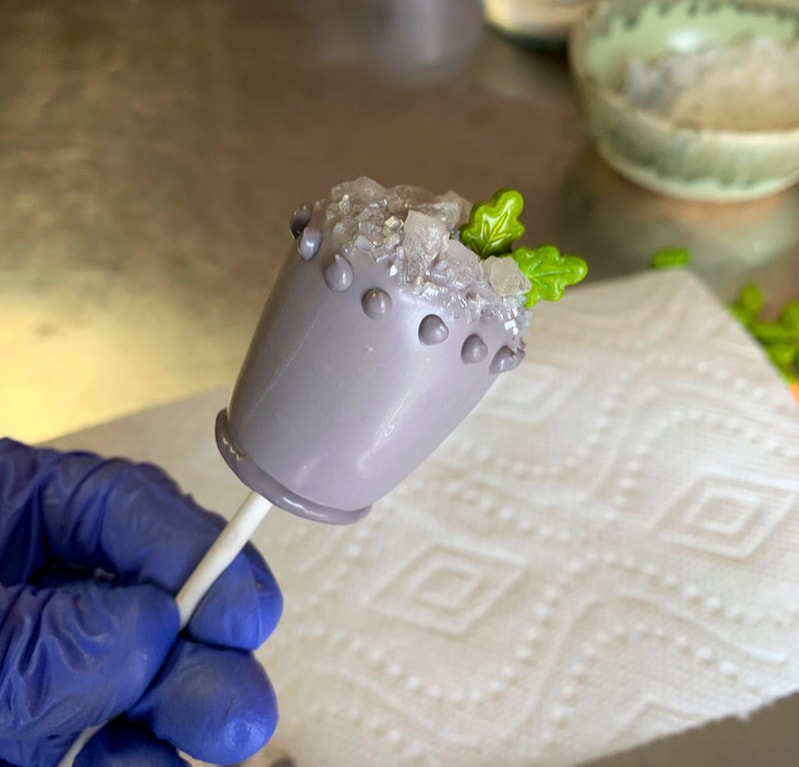
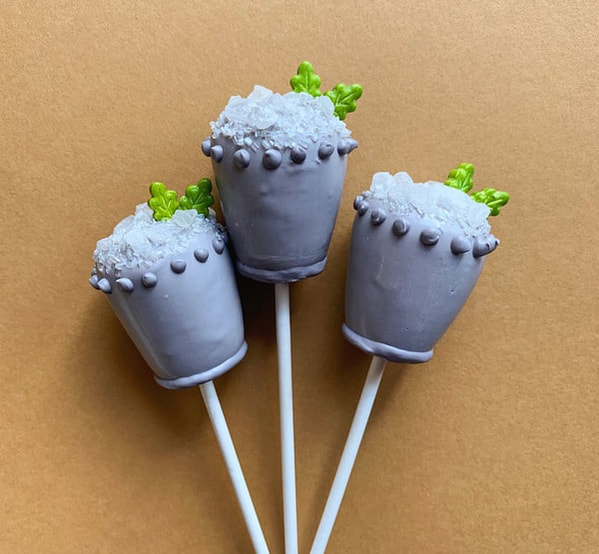
The 145th Kentucky Derby will be this Saturday. This "Run for the Roses" earned its nickname for the blanket of roses draped over the winning horse. The event is held annually on the first Saturday in May, and with it there are several traditions observed. Spectators dress super-fancy (not really my thing...anyone who has seen the 4 dresses in my closet, or my 3-year-old "nice jeans" would guess this), gather en masse (also not my thing, as an introvert) at Churchill Downs Racetrack, place bets (again, not my thing as a non-risktaker) on the performance of horses groomed specifically for this "Greatest Two Minutes in Sports," while they enjoy traditional "Derby Day" food and drink, such as the Mint Julep, a cocktail of bourbon, sugar, and mint (something I can get excited about! Yes!). However, more exciting to me than a sweet, minty alcoholic drink is a tiny drink-shaped cake pop. Everyone at the party can enjoy them: even the Designated Driver ;) A mint julep is traditionally served in a silver "Julep cup." I decided to make my little mint julep cake pops with grey chocolate coating, instead of painted silver. However, if you'd like a metallic silver finish on your cake pops, I recommend creating an edible paint by mixing Nu Super Silver Edible Luster Dust with lemon extract or Everclear (grain alcohol) or use Edible Art's Metallic Silver Edible Art Paint. Wait until your cake pop's chocolate coating is fully cooled and hardened before applying the paint. This tutorial assumes that you already know how to make cake balls or cake pops. If you are new to cake pop-making, I highly recommend Bakerella's book Cake Pops. It's what I used to teach myself when I first started making cake pops in 2011. Make a few rounds of standard cake pops before you start getting all "Derby fancy" with these! To make these Mint Julep cake pops, you'll need the following: Ingredients and Supplies *Cake Balls, in your choice of flavor(s) *White candy coating, such as Mercken's Super White melting wafers *Black candy coating, such as Wilton's Black candy melts *Leaf-shaped sprinkles, such as these from Wilton *Rock candy, such as these from Hoosier Hill Farm *Sugar crystals, such as these from CK Products *Piping bag *Lollipop sticks *Chef's knife (for sculpting) *Scribe (the "pointy thing" used for popping air bubbles). Mine is from Scribes by Vivid Sister *Paramount Crystals (optional) to thin chocolate, if needed Start by rolling each cake ball into a cup shape. I use chef's knife to roll the cake ball back and forth to start forming a cylinder. As the cylinder starts to take shape, I slant the knife (by dropping one edge of the blade) to manipulate the cylinder in such as way as to make a tapered cup shape. Note the slant of the knife blade to match the slope of the cup shape. Once all of the cake balls are shaped into tiny cups, mix and melt the black and white candy melts. Start with mostly white candy melts, and add just a few black chips to the mix. It is much easier to add black chips to make the grey darker than it will be to add white chips to make it lighter. I use a microwave to melt the candy coating. Place the chips in a glass or plastic jar, then microwave 30 seconds at a time at 50% power. Stir between each heating session until the melted chocolate is smooth and "runny enough for dipping." Be careful to avoid overheating, as that will cause the chocolate to harden irreparably. If you find that the chocolate is too stiff (and you know that you haven't overheated it), try adding some Paramount Crystals to thin it, and make it easier for dipping and coating. To better secure the cake pops to their sticks, I recommend first attaching the lollipop sticks by dipping them in the melting chocolate before inserting each stick into a cake ball. Allow the chocolate on the stick to cool/harden before dipping the cake ball into the jar of melted chocolate. Once all the cake pops are ready for dipping, prepare your toppings. I recommend putting the rock candy and sugar crystals in small bowls, for easier access (and neater sprinkling!). Dip the cake pop into the melted chocolate. Tap off the excess chocolate, and use the scribe to pop any air bubbles present on the chocolate coating. Then, working very quickly (if you are too slow, the chocolate will harden before you finish adding all the details), place 2 "mint leaves" on the top edge of the cup, and rock candy to fill most of the surface (to resemble ice cubes). Finally, sprinkle sugar crystals to fill any remaining space, and to add extra sparkle. Once the chocolate coating has fully-cooled/hardened on the cake pop, fill a piping bag with some of the melted grey chocolate from the jar. Use that to pipe dots around the rim, and a line around the base, to mimic the style of a traditional julep cup. Once the piped details have cooled/hardened, you can add the edible metallic silver paint, or just leave as-is. If you're feeling super fancy (and bold), you can remove the stick to create a tiny cake ball/cup. Be mindful that removing the stick may cause the cake pop to crack. If you want to try it, I recommend carefully and slowly twisting the stick it while you pull it away from the cake ball/cup. After the stick has been removed, fill the hole with piped chocolate, then rest on wax paper to cool. If you use this tutorial to make your own Mint Julep cake pops, please share your feedback and photos! Tag Sweet Whimsy Shop on Instagram or Facebook as @SweetWhimsyShop
Many thanks in advance, and happy creating!!
1 Comment
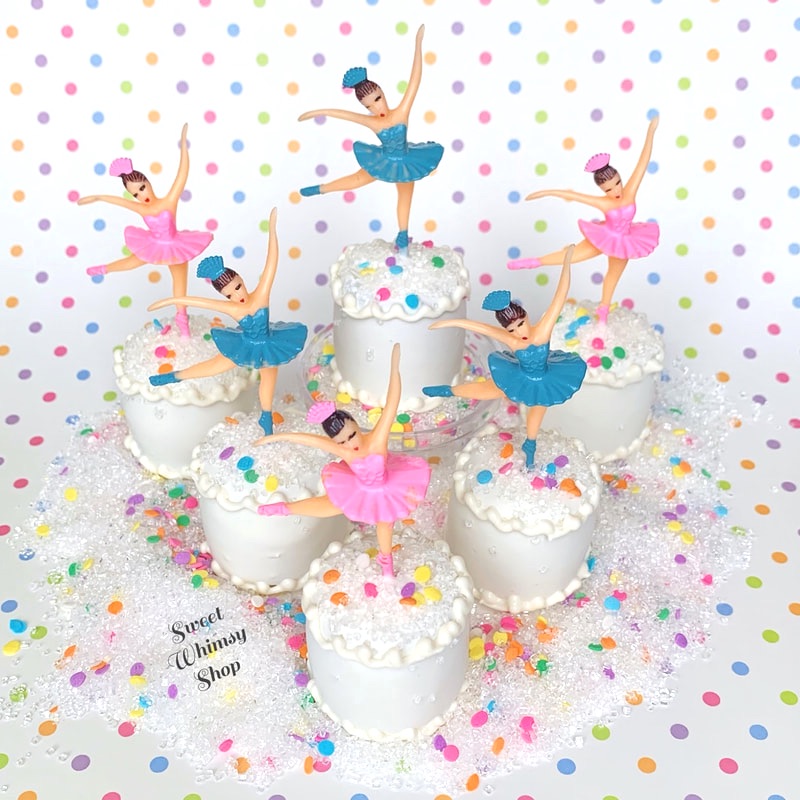
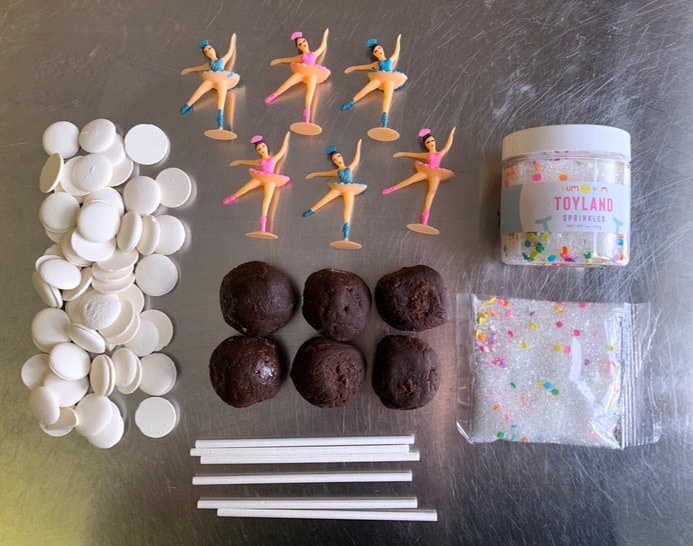
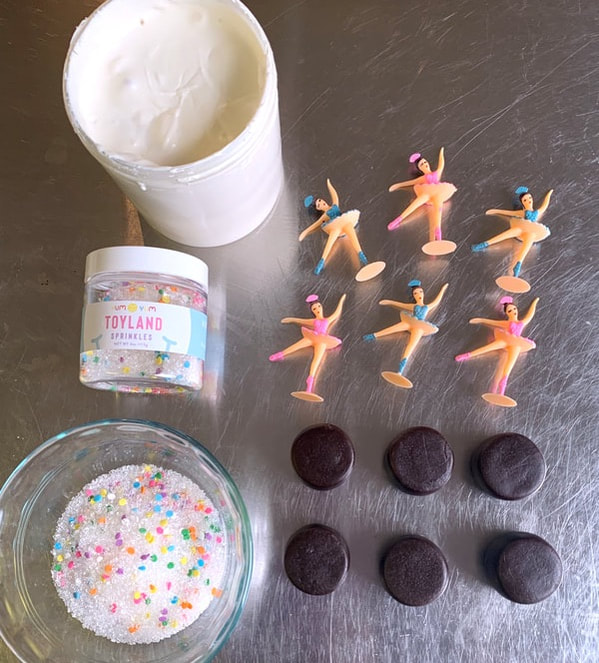
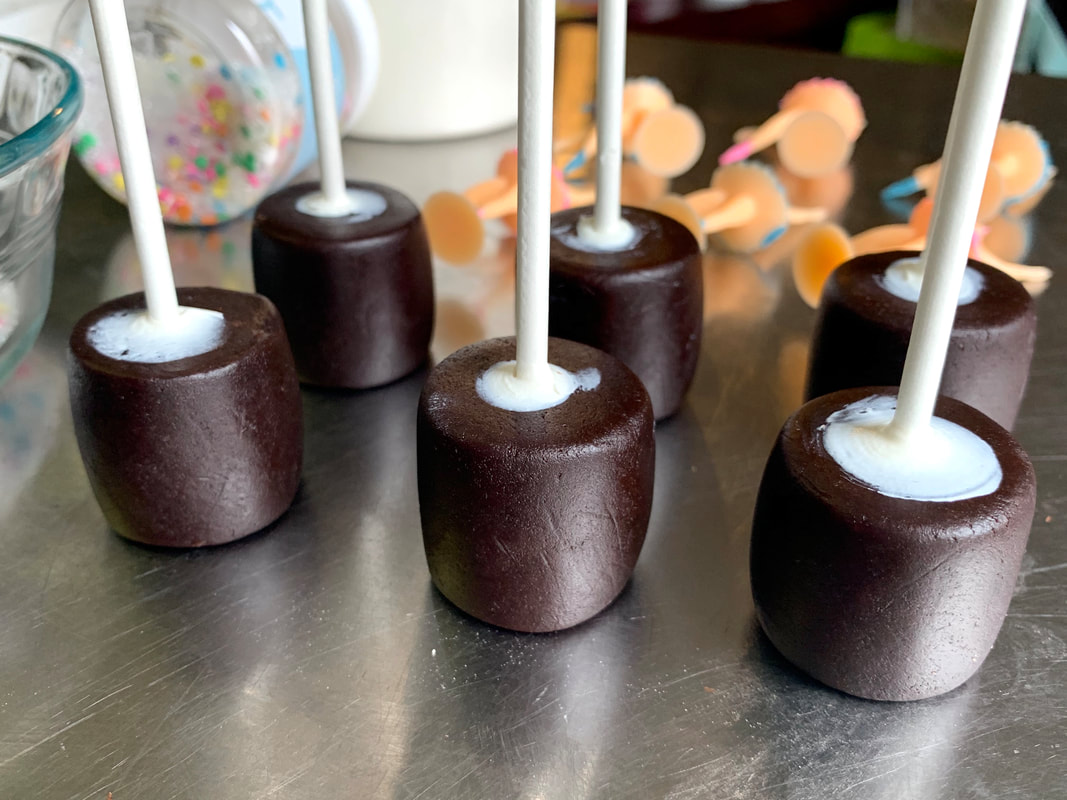
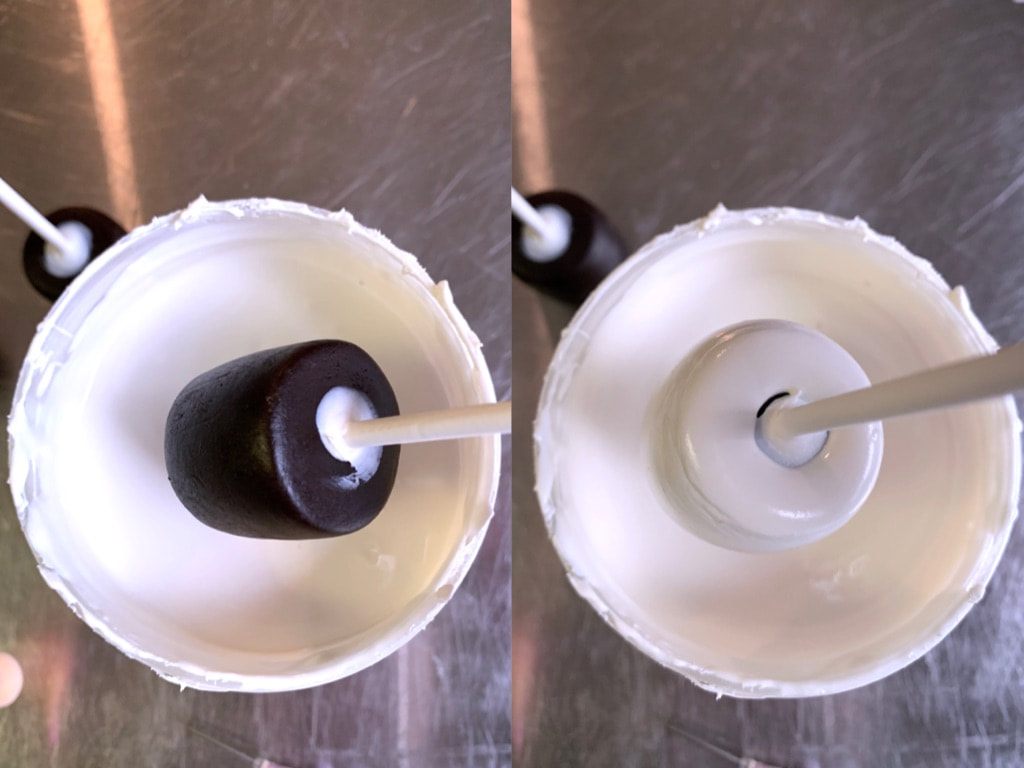
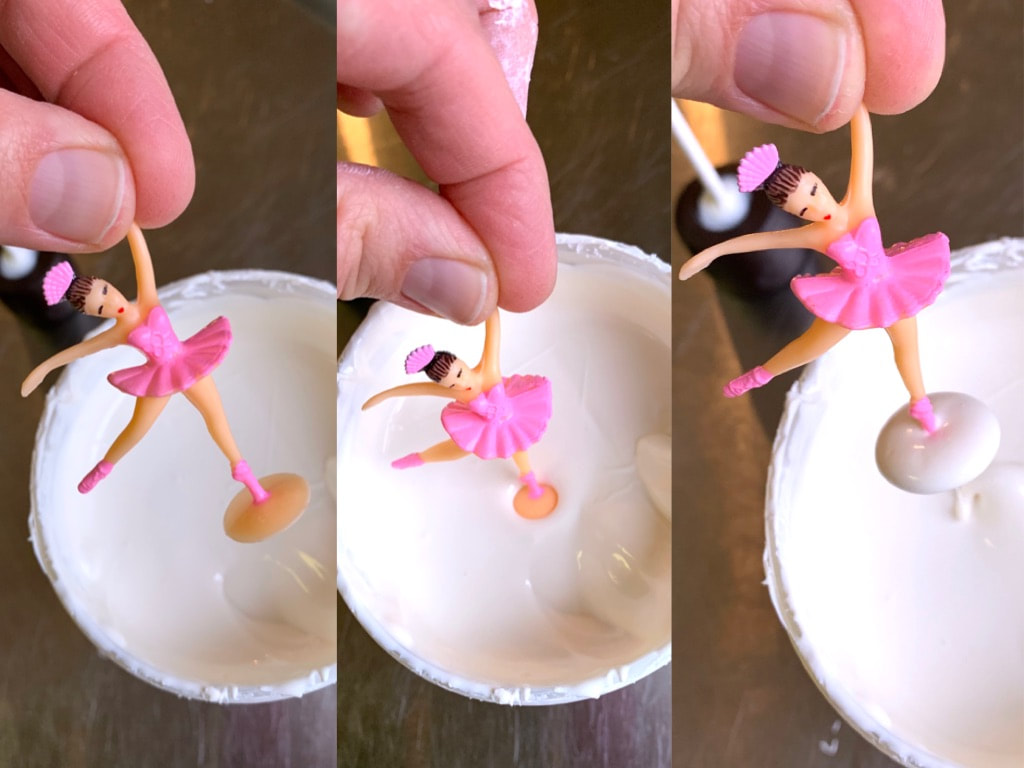
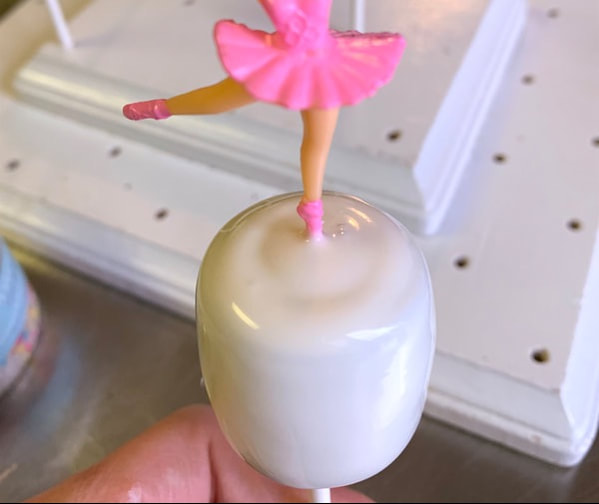
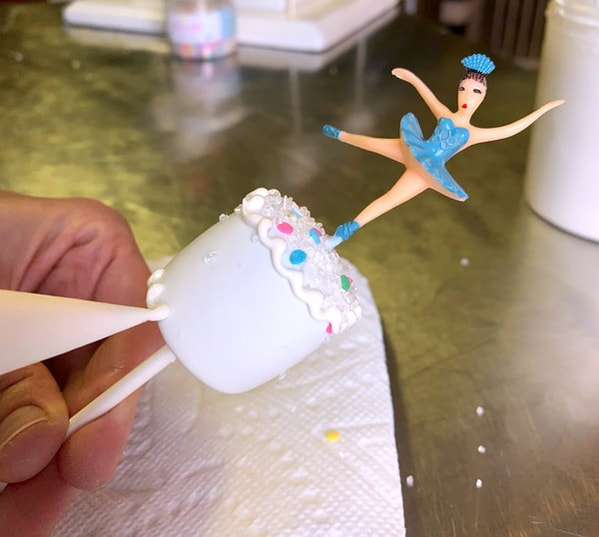
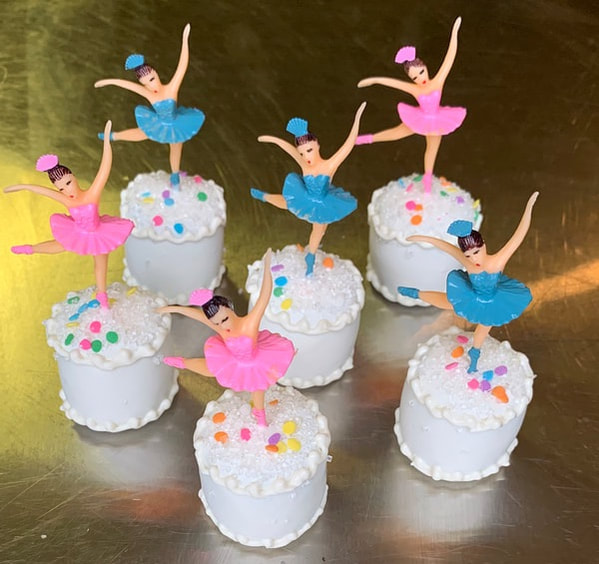
When I first saw these tiny dancer cake toppers, they were featured on Yum Yum Smile Shop’s Instagram feed, on top of a beautiful white cake (click here to see my muse). Everything looked so beautiful; I was bursting with inspiration, but I don't (can't) make cakes. Really, anything larger than about 6" is beyond my expertise...or even mild competence. I immediately dreamt up a design of "tiny cake" cake pops, with a single ballerina topper on each. It took months for me to find the time to realize that vision, but thankfully not nearly as long to problem-solve and actually create these darling desserts. This tutorial is meant for someone who already has some experience making cake pops. If you have never made a cake pop, I highly recommend of Angie “Bakerella” Dudley’s book Cake Pops: Tips, Tricks, and Recipes for More than 40 Irresistable Mini Treats as a learning tool. It’s what I used 8 years ago, when I was first starting out. If you haven't yet made a cake pop (ideally, several batches of them), take some time to practice that skill first. I'm sure you can find a few "taste-testers" willing to help with your trial-and-error process ;) If you use this tutorial to make your own Tiny Dancer Tiny Cakes, please share on social media, and tag @SweetWhimsyShop so I can see your work (and share it!). Here's what you need, and how to make it. Remember, if you don't yet know how to make cake balls or cake pops, practice that skill first! Ingredients and Supplies *Cake Balls, in your choice of flavor(s) *White candy coating, such as Wilton's Bright White *Yum Yum Smile Shop's Music Box Ballerina Cake Topper Kit *Yum Yum Smile Shop's Toyland Sprinkles (optional, read below) *Lollipop sticks *Piping bag for white candy coating *Wax paper Gather all your ingredients and supplies. The Ballerina Cake Topper Kit will come with 12 ballerinas, and a packet of Toyland Sprinkles (as shown). However, the extra jar of sprinkles is nice to have, especially if you want to decorate coordinating treats, or cover a surface for display (like I did for photos). To begin, roll each cake ball into a cylinder. I like to use a chef's knife, but you may prefer a different tool or technique. This is just what I've been doing for...ever! After all cylinders have been formed, prepare for dipping and decorating. Melt the candy melts (I use a microwave to melt them: 30 seconds at a time at 50% power), and fill a small bowl with the Toyland sprinkles. Dip the top of each lollipop stick into the melted candy coating. Then insert it into the cake ball/cylinder, about half-way. Allow to cool and harden. Then, dip the cake cylinder into the melted candy coating. Since you will later remove the sticks from the cake balls/cylinders, try to avoid fully-submerging (and fully-covering) the base of the cylinder. Now...this is the tricky part, because you have to work very quickly, and carefully! Before the white chocolate coating on the cake pop has cooled and fully-set, dip the base of the ballerina into the melted candy coating. I recommend that you set the stick of the cake pop into a cake pop stand, so that you have both hands free ;) With the the base of the ballerina fully-covered in candy melt coating, carefully place it on top of the cake pop. You may need to tap the stick a little to get the coating(s) to settle and blend. Finally (also before everything has hardened/cooled), sprinkle the top of the tiny cake with the Toyland sprinkles. Allow everything to fully set/cool, before proceeding. After coating on the tiny cake has fully-set, using a piping bag to pipe melted candy coating in the shape and style of icing to decorate the cakes (I used white, but you can use any color). Allow the piping to cool and harden before proceeding to the next step. A full video of this step is available here. For the final step, you'll need to carefully remove the stick from the cake pop/cylinder. Then, use the white piping chocolate to fill the hole. Afterwards, set the tiny cake on wax paper. The wax paper will prevent the cake pop from sticking to the surface of the counter, table, etc. After all the tiny cakes have cooled and hardened, remove them from the wax paper. Display with a larger "real" cake, include this set on a ballet- or Nutcracker-themed candy table, or use them as sweet place settings. Whatever you do, please post a photo and tag @SweetWhimsyShop :) I'd love to see your creations! Finally, if you are local to Savannah, Georgia and would like to order these instead of DIY-ing them, please use the How to Order page to submit an inquiry. Many thanks in advance! Becca Aronowitz
Well, I guess this first post makes me a blogger now. I get a lot of "How did you do that?" inquiries on my social media pages, so I figured this would be a great venue for explanations, inspirations, and more. While I love to write, I plan to minimize the "fluff" in the DIY posts, because I tend to skip over that kind of stuff when I'm searching for recipes or instructions on a blog. Hope you find this content helpful, inspirational, and, of course, whimsical!
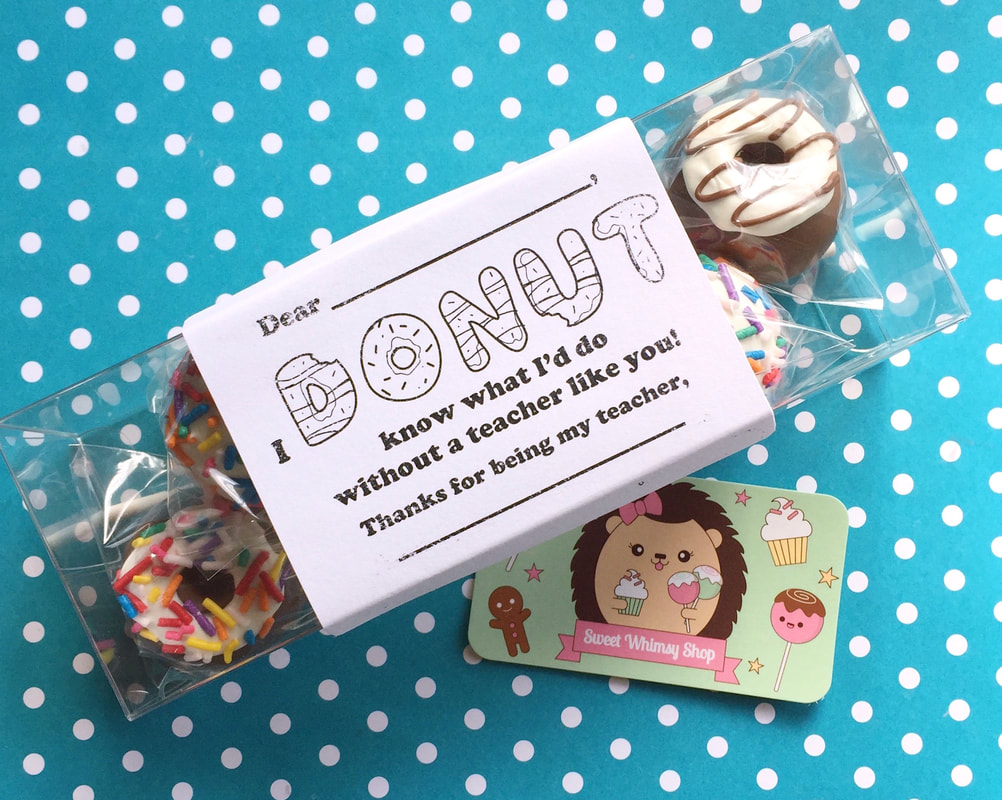
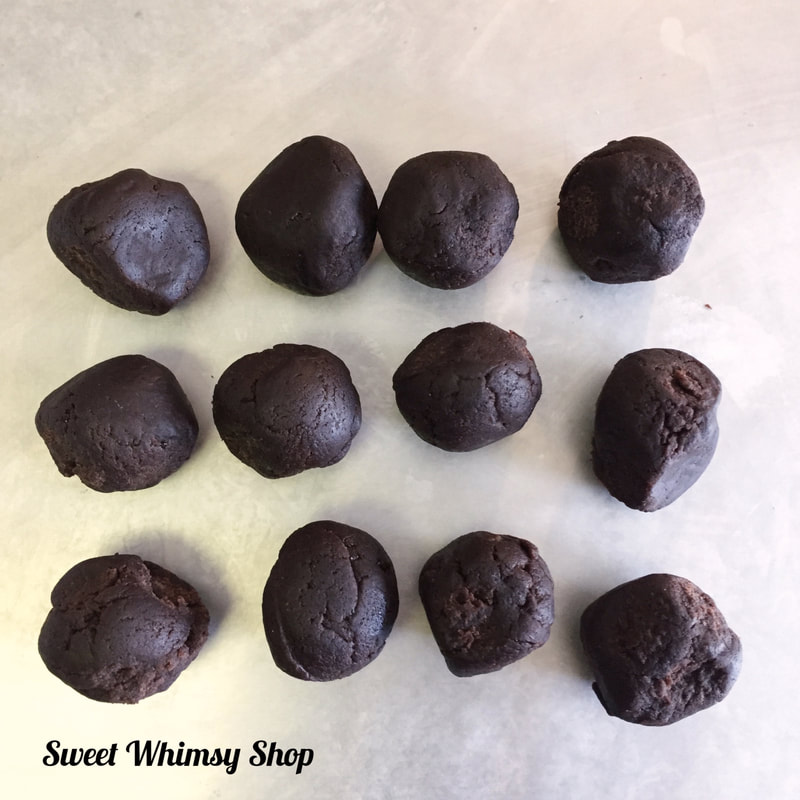
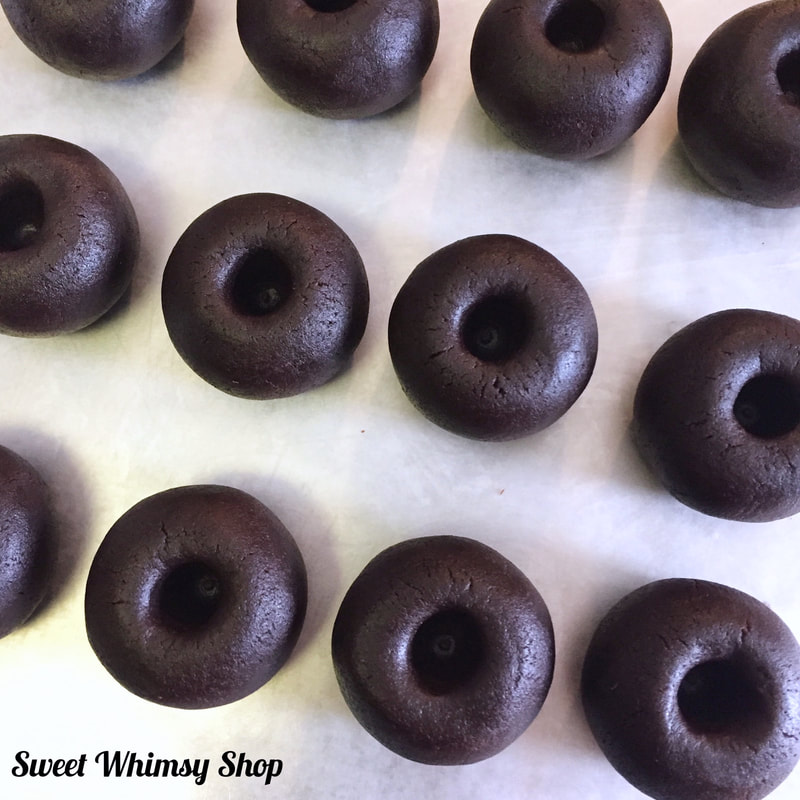
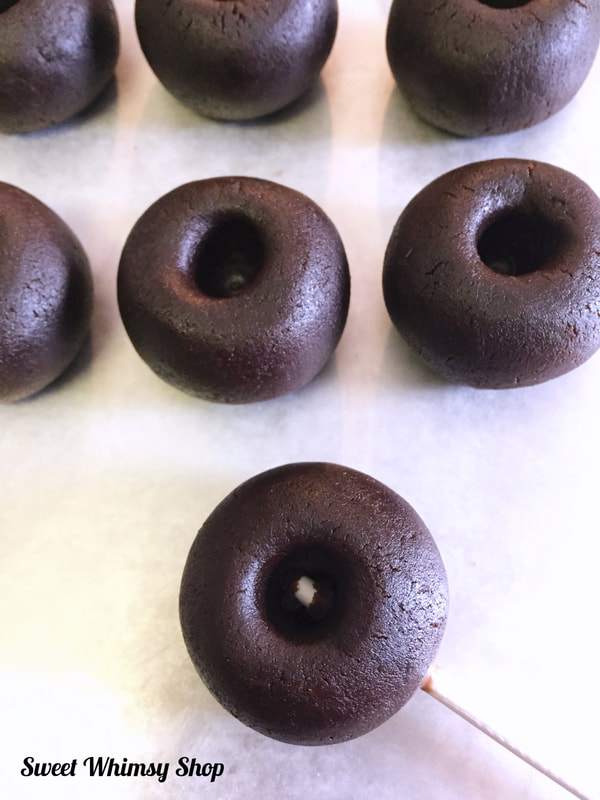
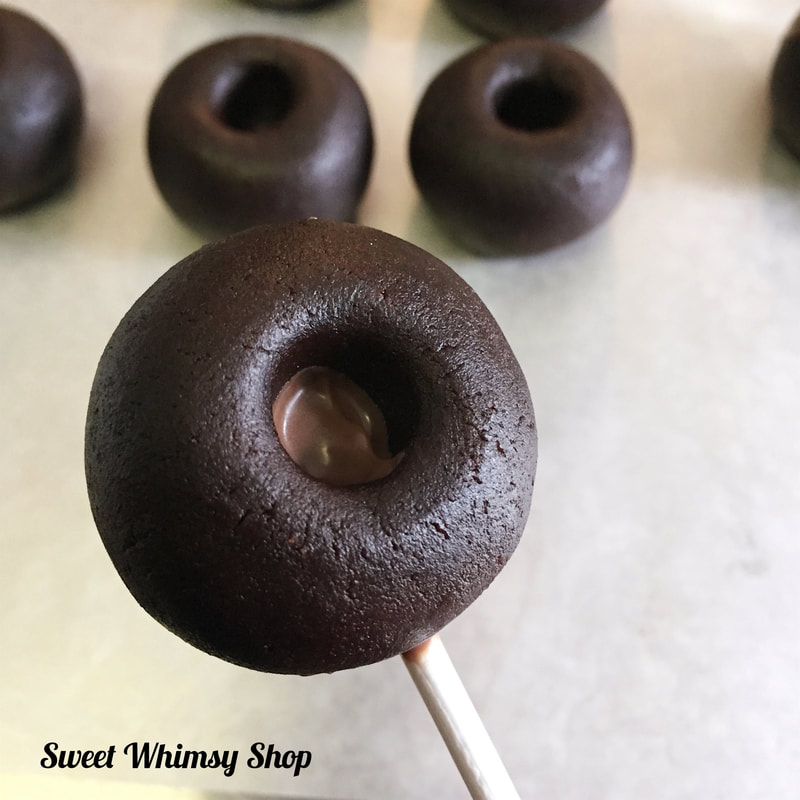
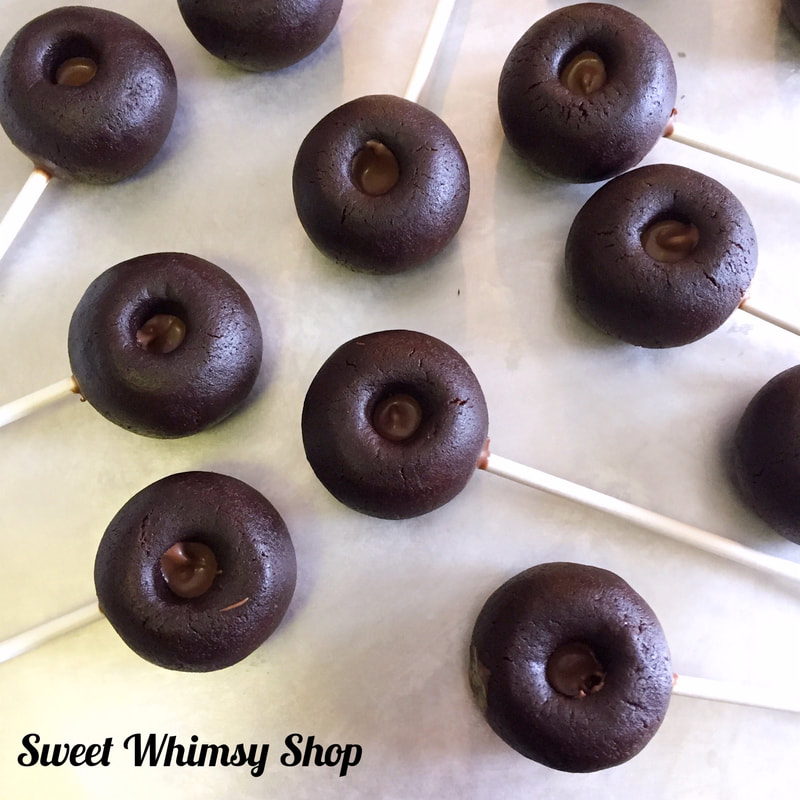
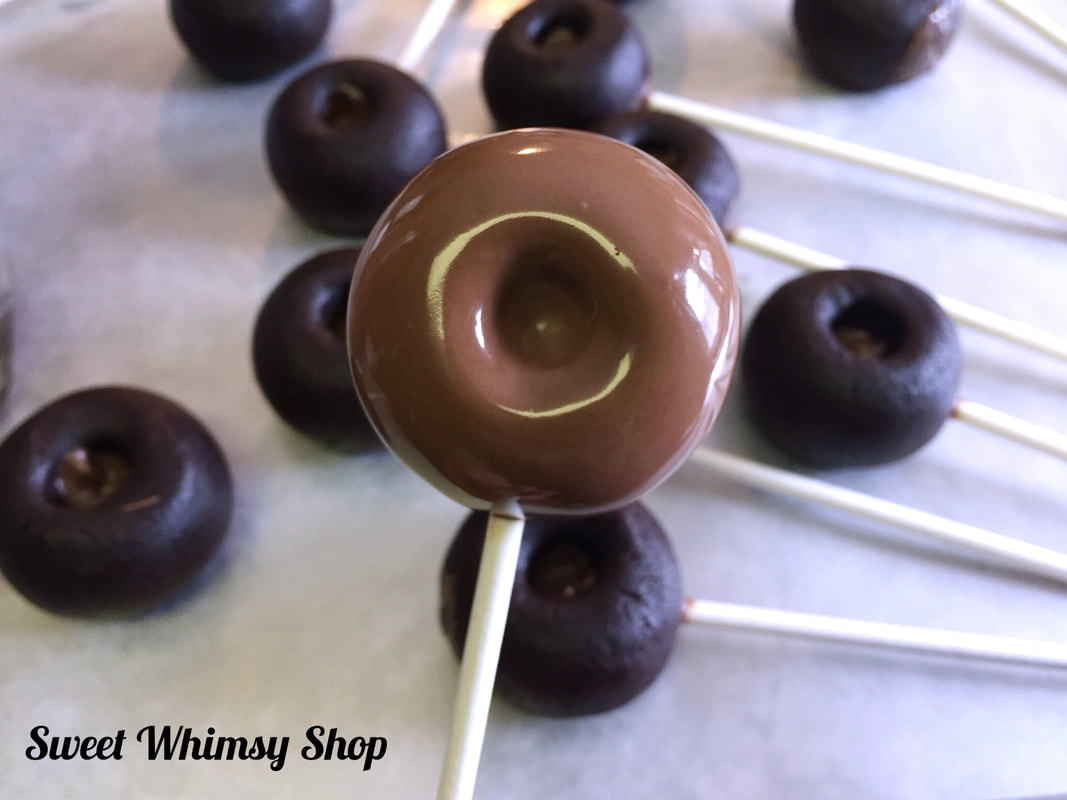
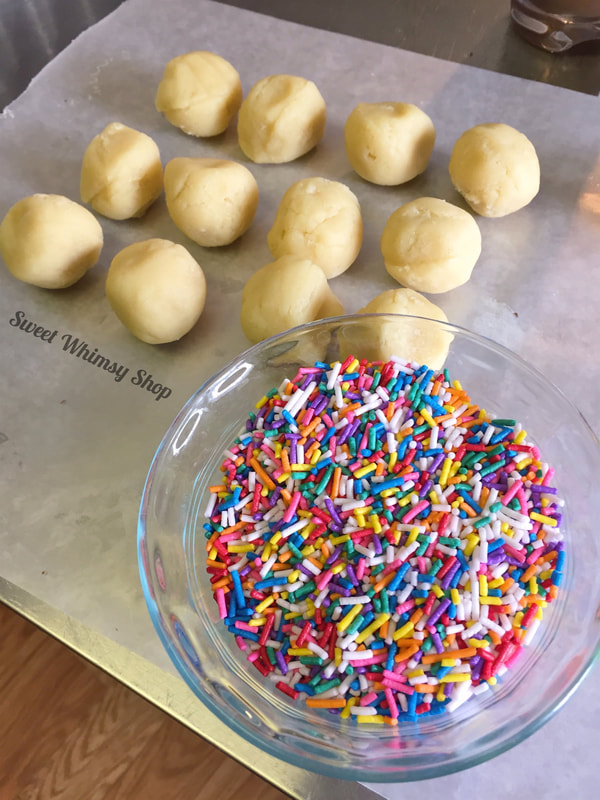
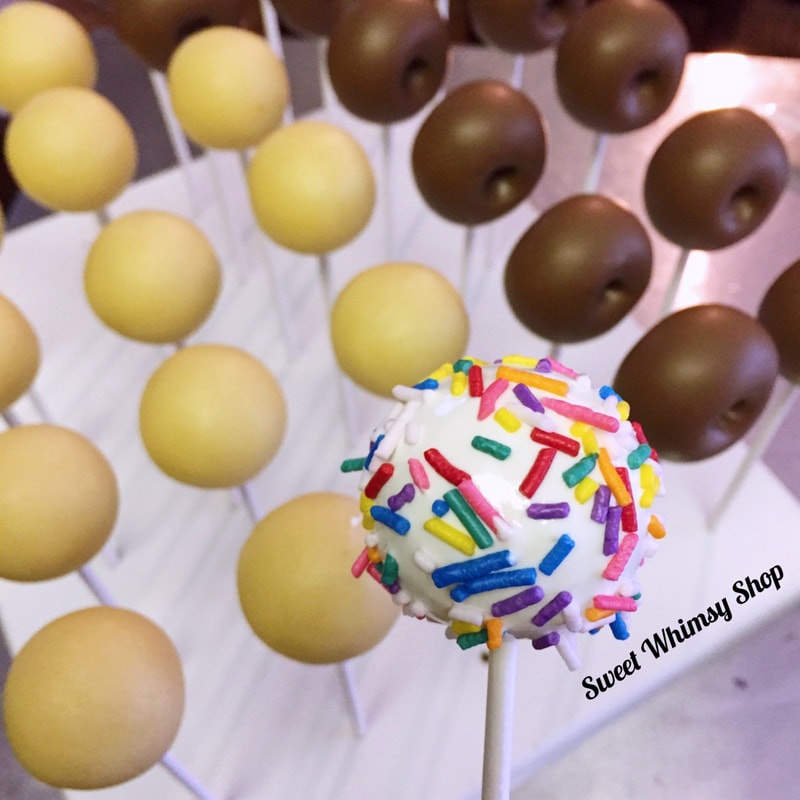
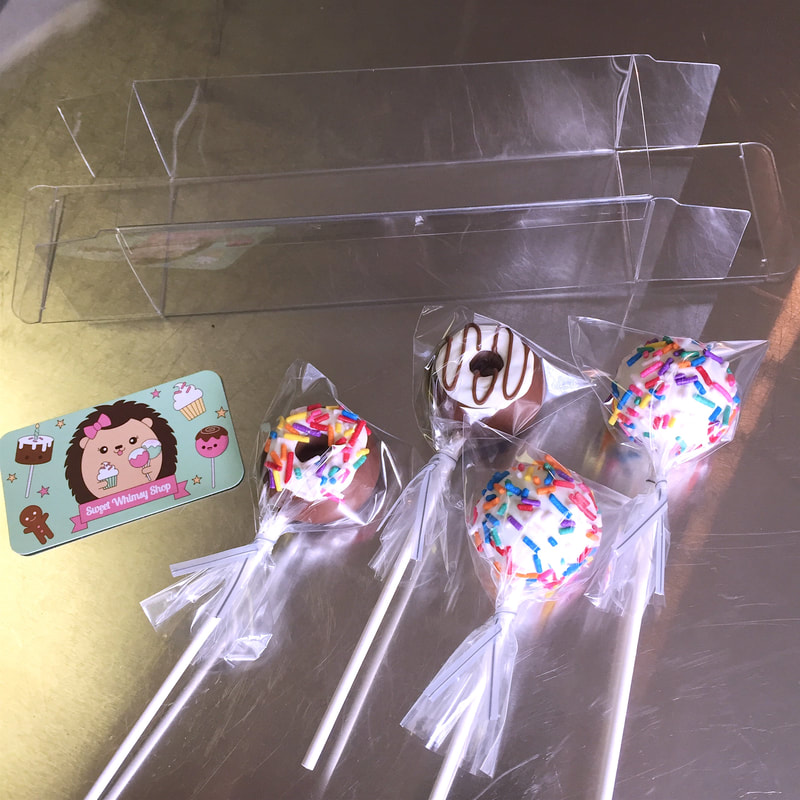
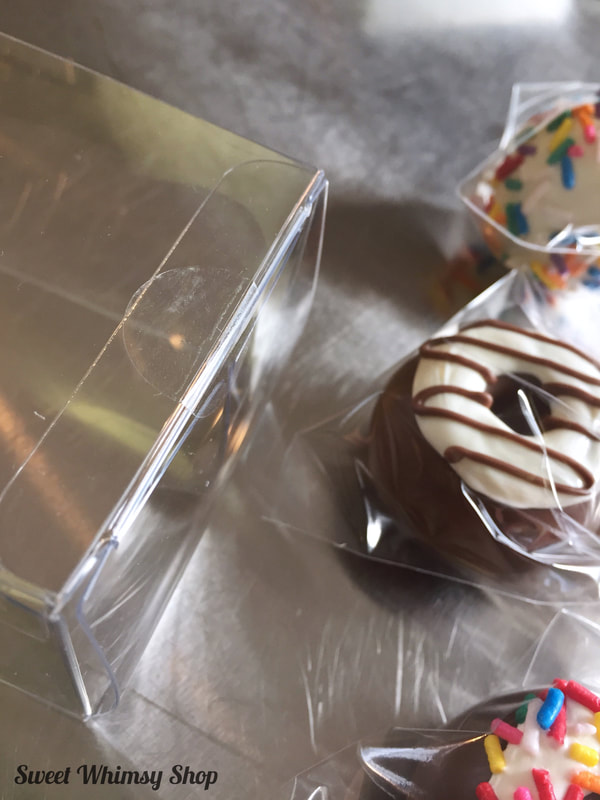
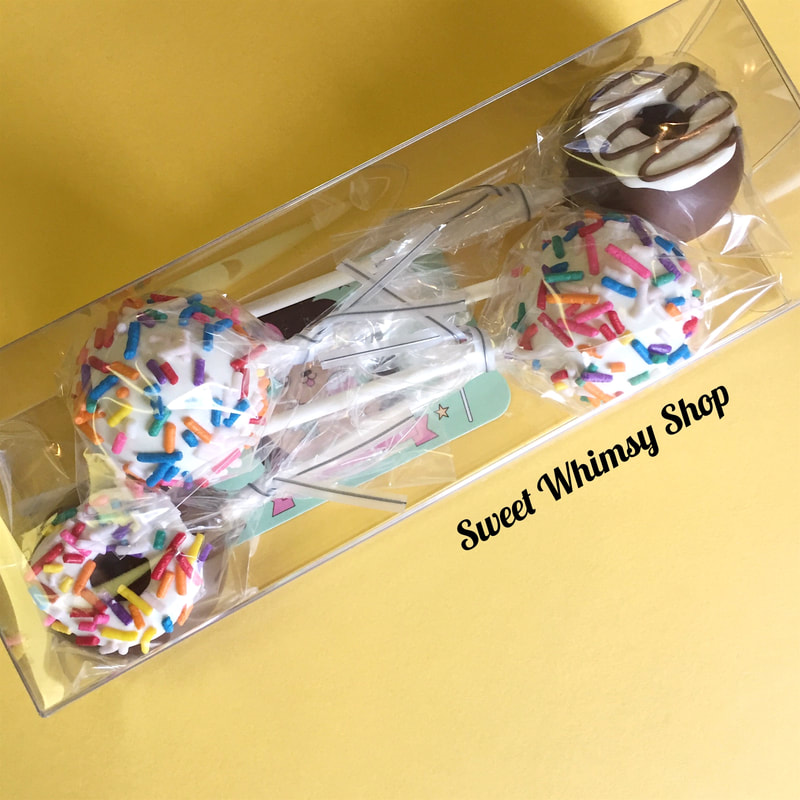
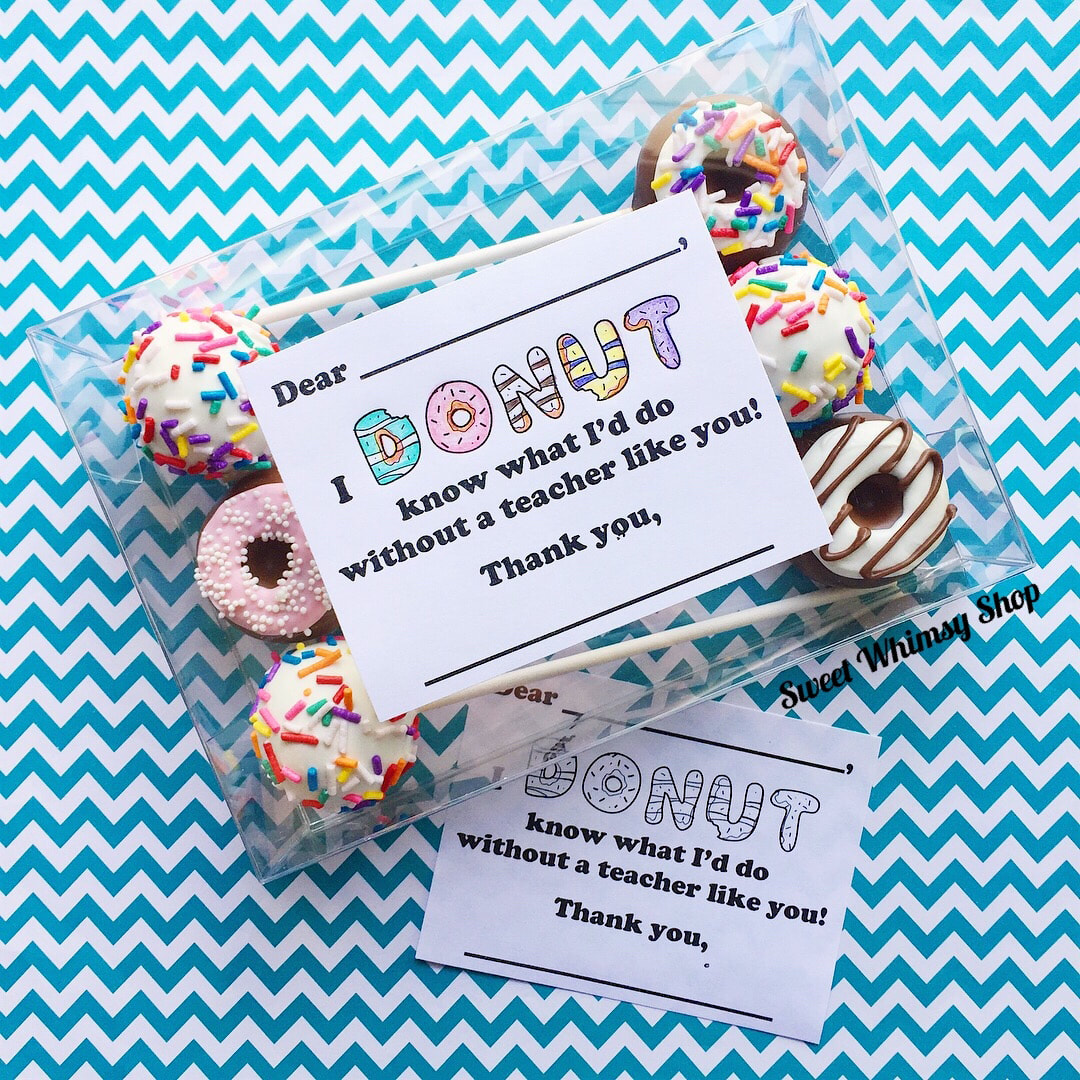
Looking for a sweet and creative way to thank a teacher? I taught high school and middle school for several years. I would have loved to receive one of these boxes from a grateful student. Here's what you need, and how to make it. If you don't yet know how to make cake balls or cake pops, practice that skill first! Ingredients and Supplies *Cake Balls, in your choice of flavor(s) *Milk chocolate *White chocolate *Rainbow sprinkles *6" (or shorter) lollipop sticks *Cellophane bags & twist-ties (optional) *ClearBags.com Box #FPB256 (see purchase link and discount code below) *Printable Peel-and-stick Labels Most of these supplies can be purchased on Amazon. Here's a link to the list: https://www.amazon.com/shop/sweetwhimsyshop Start with cake balls in your choice of flavor. I chose chocolate cake, because the donut-shaped cake balls will be dipped in milk chocolate candy coating. Roll each cake ball into a flattened disc, then carefully create a hole in the middle of the disc. Avoid going all the way through the cake ball. Use your pinky finger, or the blunt end of a kitchen utensil or cookie decorating scribe. Dip the tip of a lollipop stick into the melted milk chocolate candy coating. Then insert stick through the cake ball as shown. If part of the stick is exposed, use a drop of melted chocolate to cover it and to reinforce the bond of the cake ball to the stick. Dip each donut-shaped cake pop into the melted chocolate, and allow to cool/harden. As the donut cake pops cool, make the round sprinkle-covered cake pops. I used vanilla cake and white chocolate candy coating. Dip the round cake pops in melted white chocolate candy coating, then lightly drizzle rainbow sprinkles all over. Allow to cool/harden. Then prepare 2 bags of piping chocolate. 1 with melted white chocolate and the other with melted milk chocolate. Decorate the donut cake pops with piped chocolate and rainbow sprinkles. Allow to cool/harden completely before packaging in cellophane bags with wire twist-ties. Prepare 4 cake pops for packaging. ClearBags.com Box #FPB256 is shown above. Use code SWEETWHIMSY10 to get 10% off your purchase. To order this specific box, follow this link: www.clearbags.com/2-5-16-x-2-x-7-1-2-crystal-clear-macaron-boxes-25-pieces-fpb256.html Use the clear sticky dots (included with your ClearBags order) to secure one end of the box before you start to fill it. Fill box as shown. I placed a business card just underneath the cake pops.
Need room for more than 4 cake pops? A set of 6 fits perfectly in ClearBags.com Box #FPB326 as shown above. Don't forget to use code SWEETWHIMSY10 to save 10% on your order! www.clearbags.com/5-1-8-x-2-x-7-1-8-crystal-clear-boxes-25-pieces-fpb326.html
How did you like my first DIY tutorial? What did you learn? What inspired you?
Will you be giving these as teacher gifts this year? Comment below! |
AboutLooking for more from Sweet Whimsy? Find DIYs, behind-the-scenes, and more right here! Whimsically sporadic posting guaranteed. Archives
May 2019
Categories
All
|
|||||||||||||||||
 RSS Feed