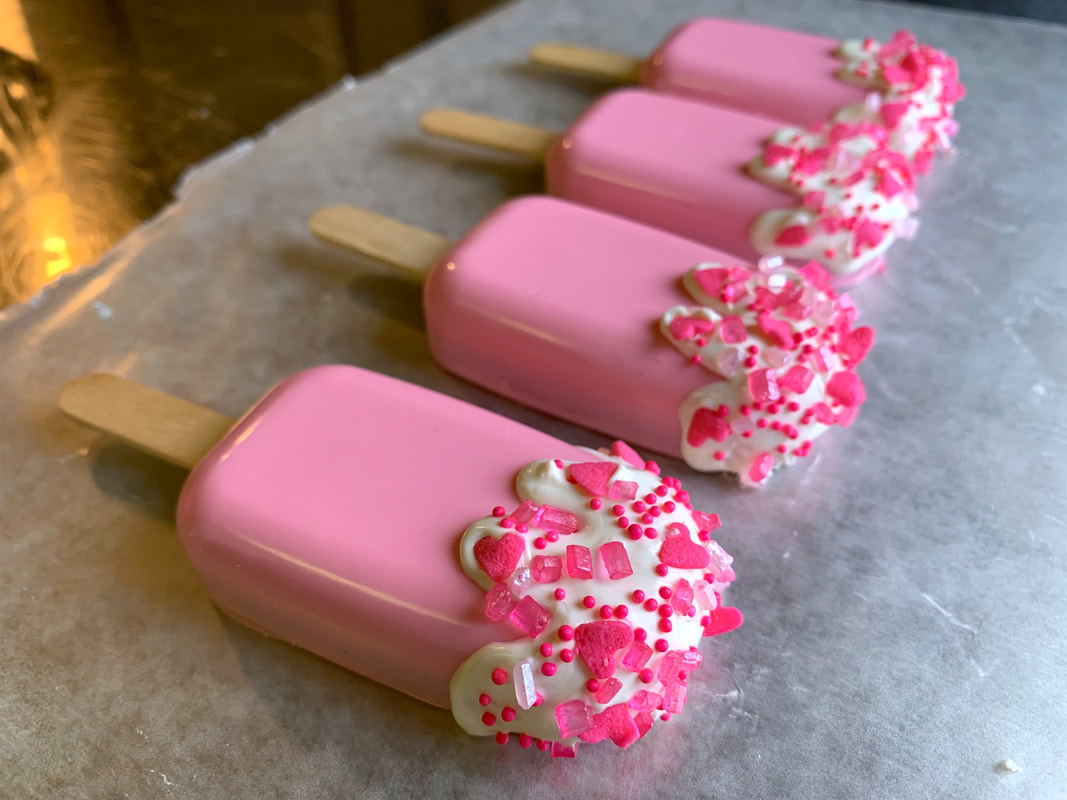
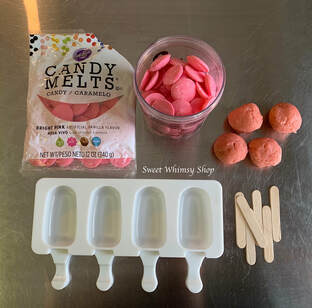
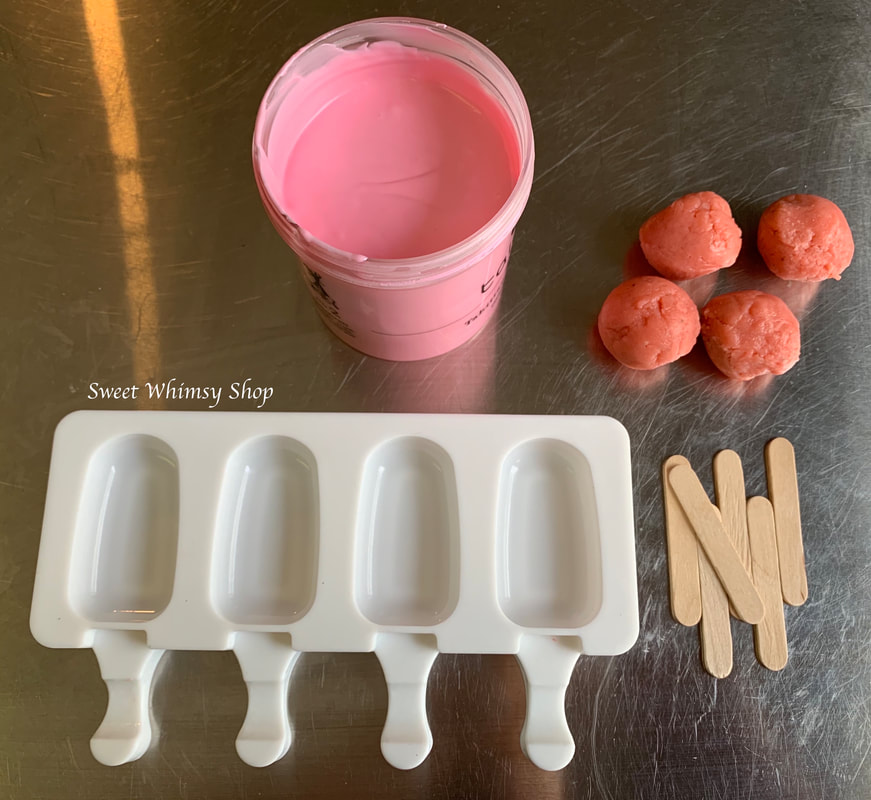
 I did not make a 2019 New Year's resolution; although "blog more consistently" would have been a good one. If you've been following me (or trying to) since my first post (May 2018), you know there's been quite a gap. 2018 was a regrettably memorable year for our family: significant deaths, various medical issues, and costly legal shenanigans (due to a greedy bakery located 600+ miles, and several states, away from me), on top of the general stress of raising a tiny human. "Blogging" fell off the priority list. We could not get out of 2018 fast enough, and in my rushed & desperate departure, I never paused to consider "How/what can I improve in 2019?" Rather, the mantras have been: "I'm still standing." "Still vertical." "2019 HAS to be better [no effort required]." Perhaps I will be more consistent with blogging, but it will not be the result of a strategic plan or resolution. With that, you should probably embrace this tutorial to its fullest, because I'm not sure when the next one will be! ;) A Valentine's Day-themed tutorial seems perfect for a blog re-launch. The holiday is one of my favorites, because I love pink, and sparkles...and also flowers and chocolate! And, there are a LOT of folks who DIY their valentine gifts. Cakesicles are a fairly new confectionary trend. They are comparable to cake pops (a chocolate/candy-coated ball of cake, set on a lollipop stick), but they are popsicle-shaped, and can be made using a "casting" technique, instead of dipping. "Casting" is a way to make "stuff" using a mold. Generally, a liquid like heated metal, plaster, or in this case: melted chocolate, is poured into a cavity. When the liquid cools/sets/hardens to a solid form, it takes on the shape of the mold in which it had been cast. I love the casting technique for cakesicles, because it produces a lovely smooth and shiny finish. This tutorial assumes that you have general knowledge of how to make cake balls (made from a baked cake that is crumbled and mixed with frosting to achieve a "dough" whichcan be rolled into a ball shape). If you do not know how to do that, I highly recommend reading Bakerella's book Cake Pops. The photos are beautiful, and the step-by-step processes are super user-friendly! To make these Valentine's Cakesicles, you’ll need the following: Ingredients and Supplies *Cake Balls, in your choice of flavor(s) *Pink and White colored chocolate candy coating (such as Wilton’s Candy Melts) *Mini popsicle sticks *Piping bags for melted chocolate *Sugar crystals, sprinkles, or any other festive edible topping *Cake Pop Popsicle Mold, available from Baker's Party Shop Most of these supplies can be purchased from your local craft or cake decorating supply store, or click here to find them in my "Supplies List" on Amazon To begin, make sure you have all your ingredients readily available...so you're not freaking out trying to find the popsicle sticks while the chocolate is hardening. Just a little pro tip for ya ;) If you have never melted candy coating, I recommend microwaving the chips in a food-safe, microwave-safe container, for 30 seconds at a time, at 50% power. Be sure to stir after each 30 seconds.
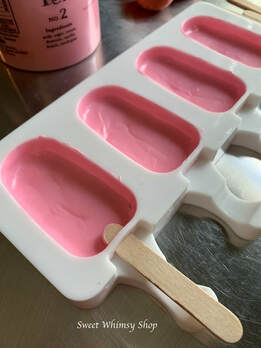
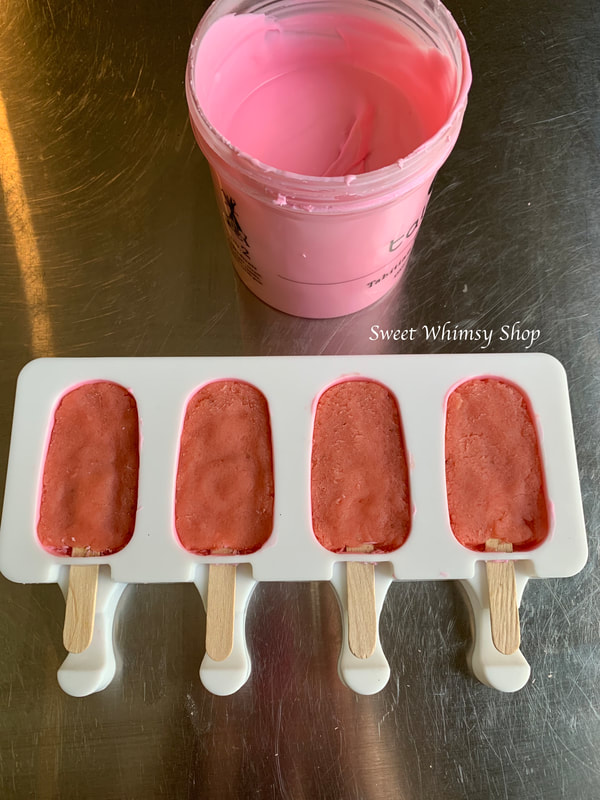
Use a spoon to fill each cavity with melted chocolate/candy coating. 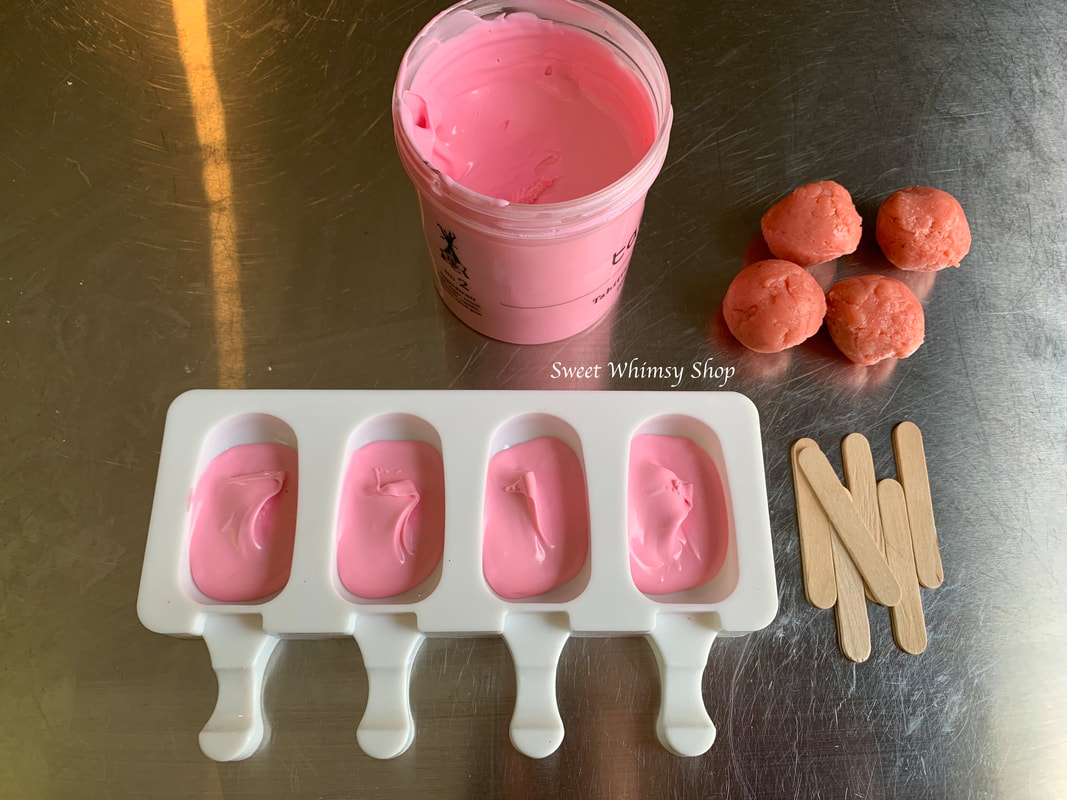 Then fully-coat the cavity, all the way to the edges. 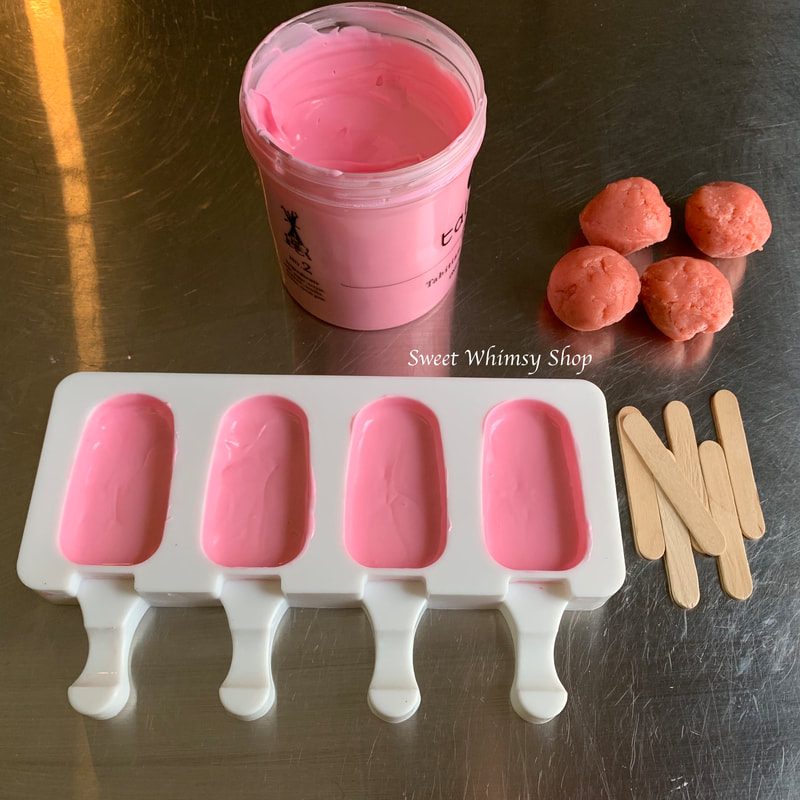 Before the chocolate hardens, use one of the popsicle sticks to clear each hole where the cakesicle’s popsicle stick will eventually be inserted. Then freeze for 5-10 minutes.
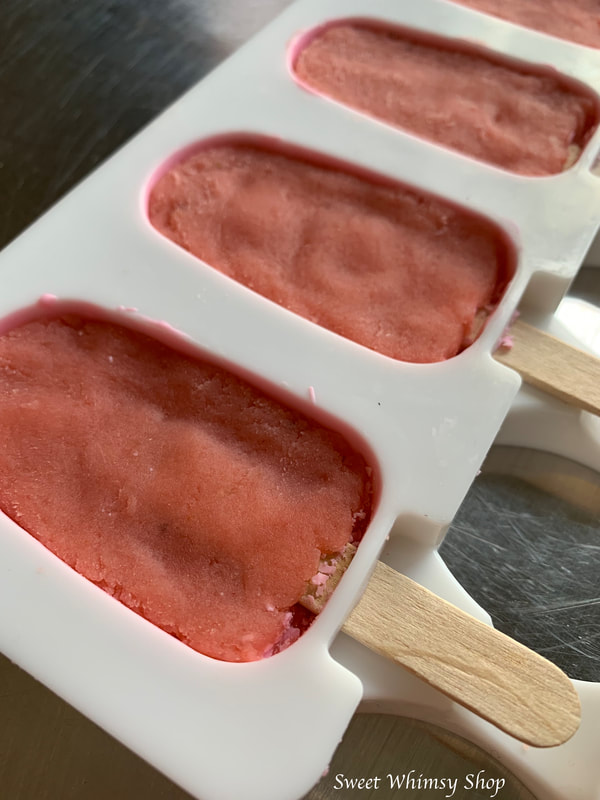
After removing from the freezer, carefully press one cake ball in to each cavity of the mold, then insert a popsicle stick through the previously-cleared hole of the mold, and into the pressed cake. 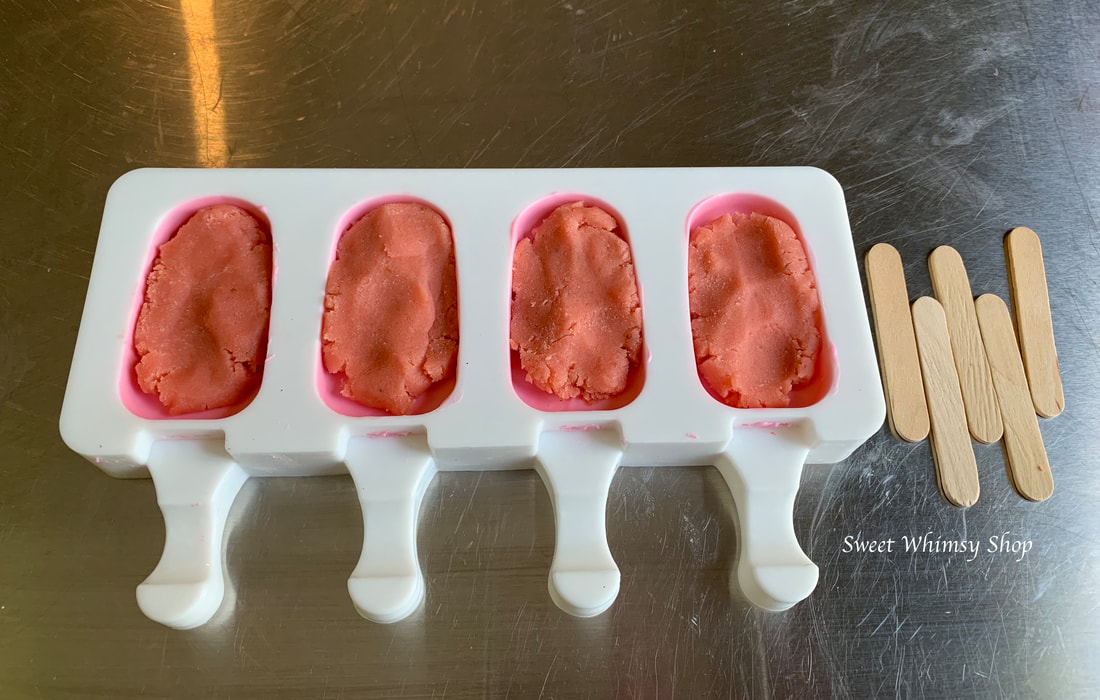
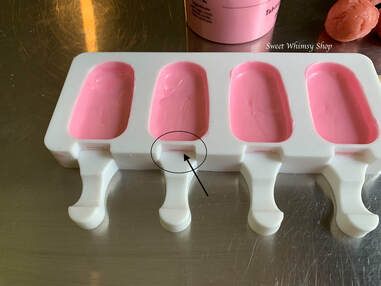
Use a spoon to cover the cake and fill the mold. If you are working in a cool/cold space, you may need to reheat the chocolate coating before you attempt this. Otherwise, it will harden before you are able to fully-cover each cakesicle (I learned this the hard way). Once all cavities are fully-covered, place the mold in the freezer for another 5-10 minutes.
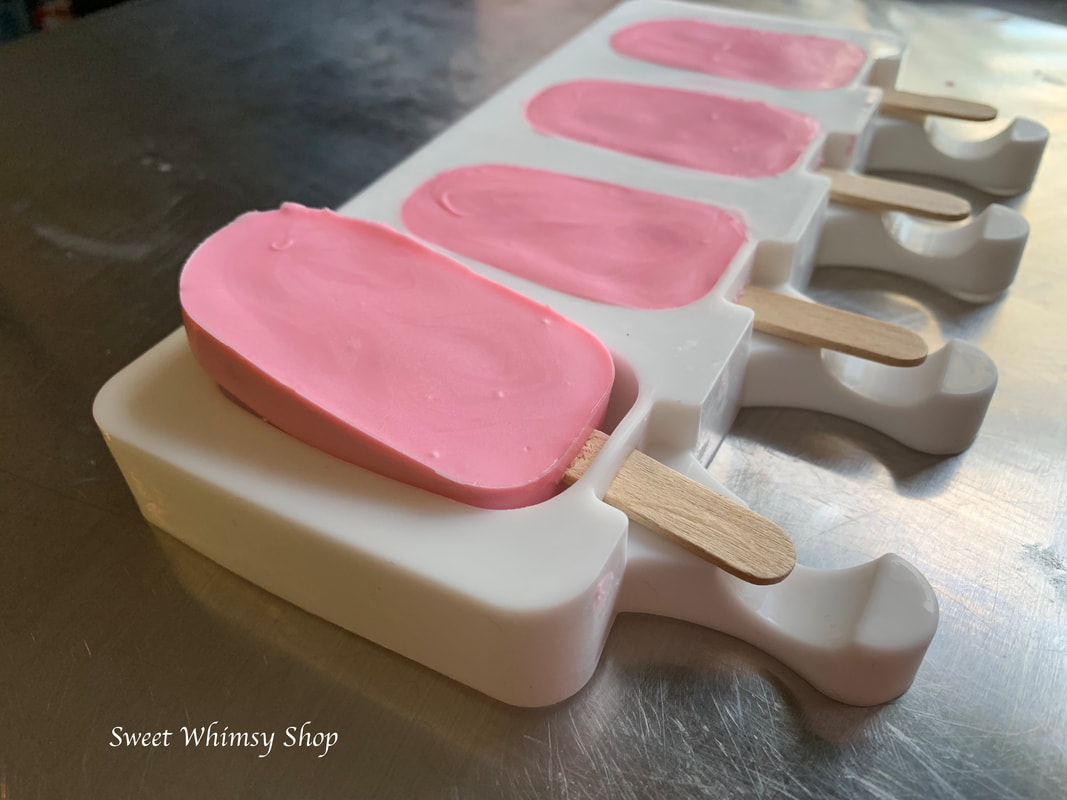
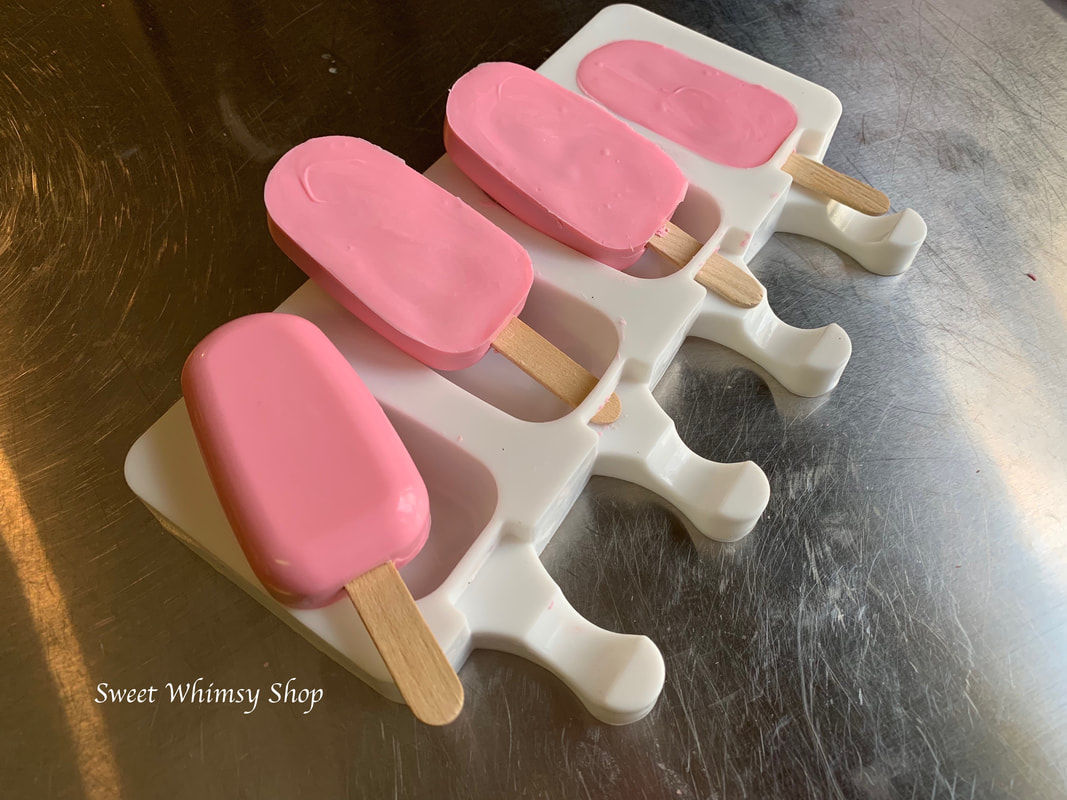
When the chocolate has fully hardened, and the cakesicles are fully-set, carefully remove each cast from its mold.
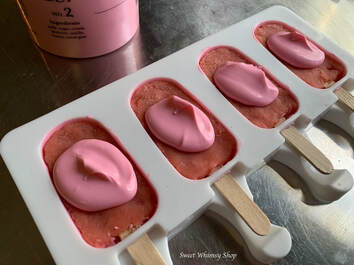
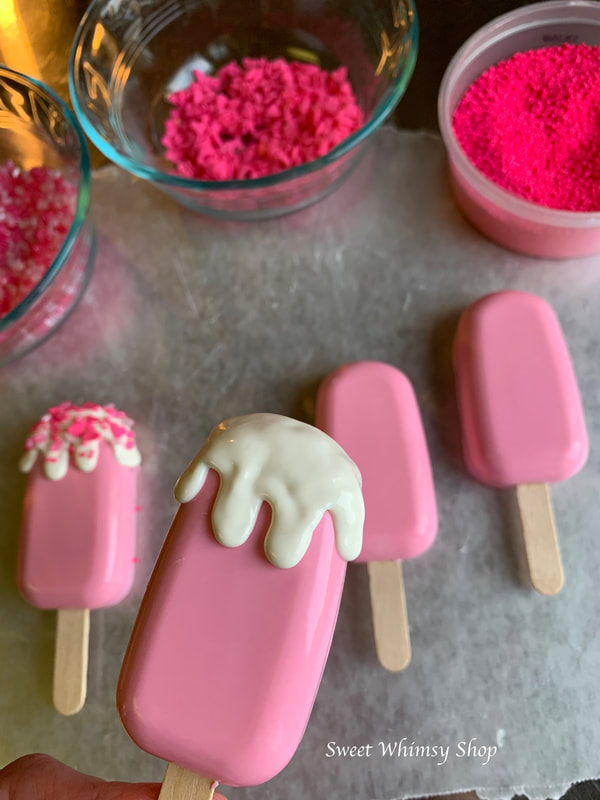
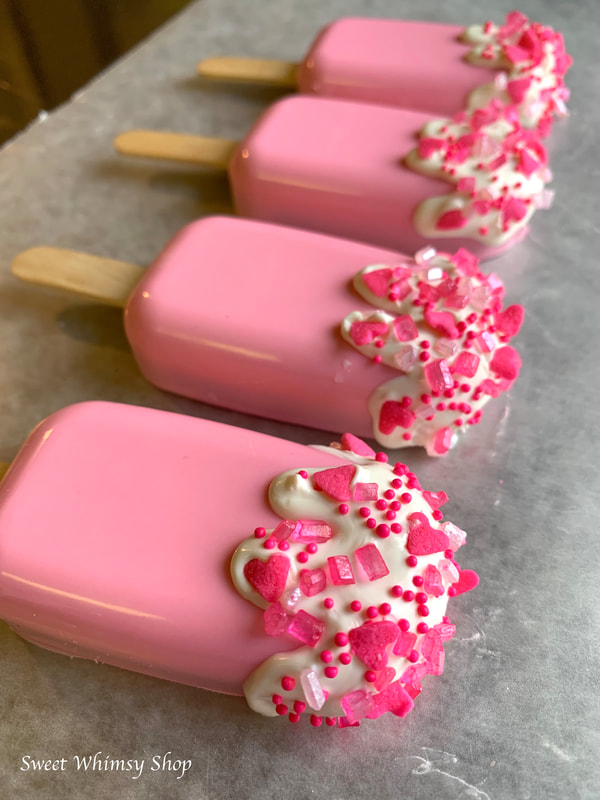
Prepare for decorating by filling bowl(s) with whatever sprinkles, sugar crystals, or decorations you've chosen. Fill a piping bag or a parchment paper cone with melted white candy coating. Set up the bowls of toppings before you prepare the piping bag. Otherwise, the piping chocolate may cool/harden as you're preparing the bowls.  Use the piping bag to decorate the top of the cakesicle in a "drippy style," similar to that of hot fudge or melted marshmallow cream on an ice cream sundae. Before the chocolate cools/hardens, sprinkle your toppings over it, then set the cakesicle aside to cool.
I hope you found this tutorial helpful and inspirational! Please, please, if you make your own cakesicles with the help of this how-to, I would love to see them (and would very much appreciate a shout-out/credit!). You can find (and tag!) me on social media as @SweetWhimsyShop Questions? Tips? Exclamations of excitement? ;) Please leave a comment!! Wishing you a sweet 2019, Becca
12 Comments
Great tutorial! Love the pics! I had a similar incident with a bakery years ago that thought they could trade mark swirls on cake pops😂 I’ve done these the same way, but struggle with the sides connecting. Any tips? And do you use the same size cake ball to fill? My cake balls are 36 grams. Here’s hoping 2019 is a better, less stressful year! I have 4 daughters, so I get girls lol! You’re cuties strong willed personality will be a good thing as she gets older! Thanks for a great tutorial😘 Thanks for your input, Traci! And I’m sorry that we have a shared experience with “intellectual property.” Oh, people! 🙄😂 I’ve found that the cakesicles hold a little less cake than what I use for the cake balls/pops. I haven’t weighed either, but it’s roughly a tablespoon of “dough.” Can you explain further your issue with the sides connecting? I’m not sure I understand the problem, but would love to offer tips, if I have any!! Many thanks again!
Lisa
1/16/2019 10:01:21 am
Thank you so much for the tutorial! I can't wait to make these. Here's to a great 2019 for you and your family!
Becca
1/16/2019 12:23:33 pm
Thanks Lisa! We wish the same for you and your family! If you end up making these, please share pics! 😆💕
Annabelle
1/17/2019 01:49:37 am
I did everything as you posted and it looked fine until I pulled the cakesicles out of the mold. It slipped right off the popsicle sticks. Every single of them 🤦🏻♀️ Did I miss a step? What did I do wrong? I packed the dough as best I could 🤷🏻♀️
Becca
1/19/2019 06:27:02 pm
Hi Annabelle! Thanks for your question! Sometimes, that happens to me too. You can try putting melted chocolate on the stick before you insert it in to the cake dough, during the casting process. Or, you can wait till the end, and add a little melted chocolate to the stick at that point, if you’ve checked and it slips out. Hopefully that helps!!
Brandi
5/28/2019 10:16:11 am
LOVE making these cake pops, and I love the way they look. I keep having the issue of the coating on the sides not being thick enough, any tips to make that easier? And can this be done with ganache or real chocolate? I can't stand the taste of the candy melts.
Lerri
12/30/2022 12:49:56 am
Here are some options for boxes:
Anu
7/10/2019 03:22:29 am
Hi everytime I remove the cakesicles from the mold it cracks all along the sides and pulls the chocolate off of the sides and bottom. What could I do to prevent this ? Leave a Reply. |

AboutLooking for more from Sweet Whimsy? Find DIYs, behind-the-scenes, and more right here! Whimsically sporadic posting guaranteed. Archives
May 2019
Categories
All
|

 RSS Feed